Marantz 1030 amplifier case build log
Walnut plywood · Solid walnut
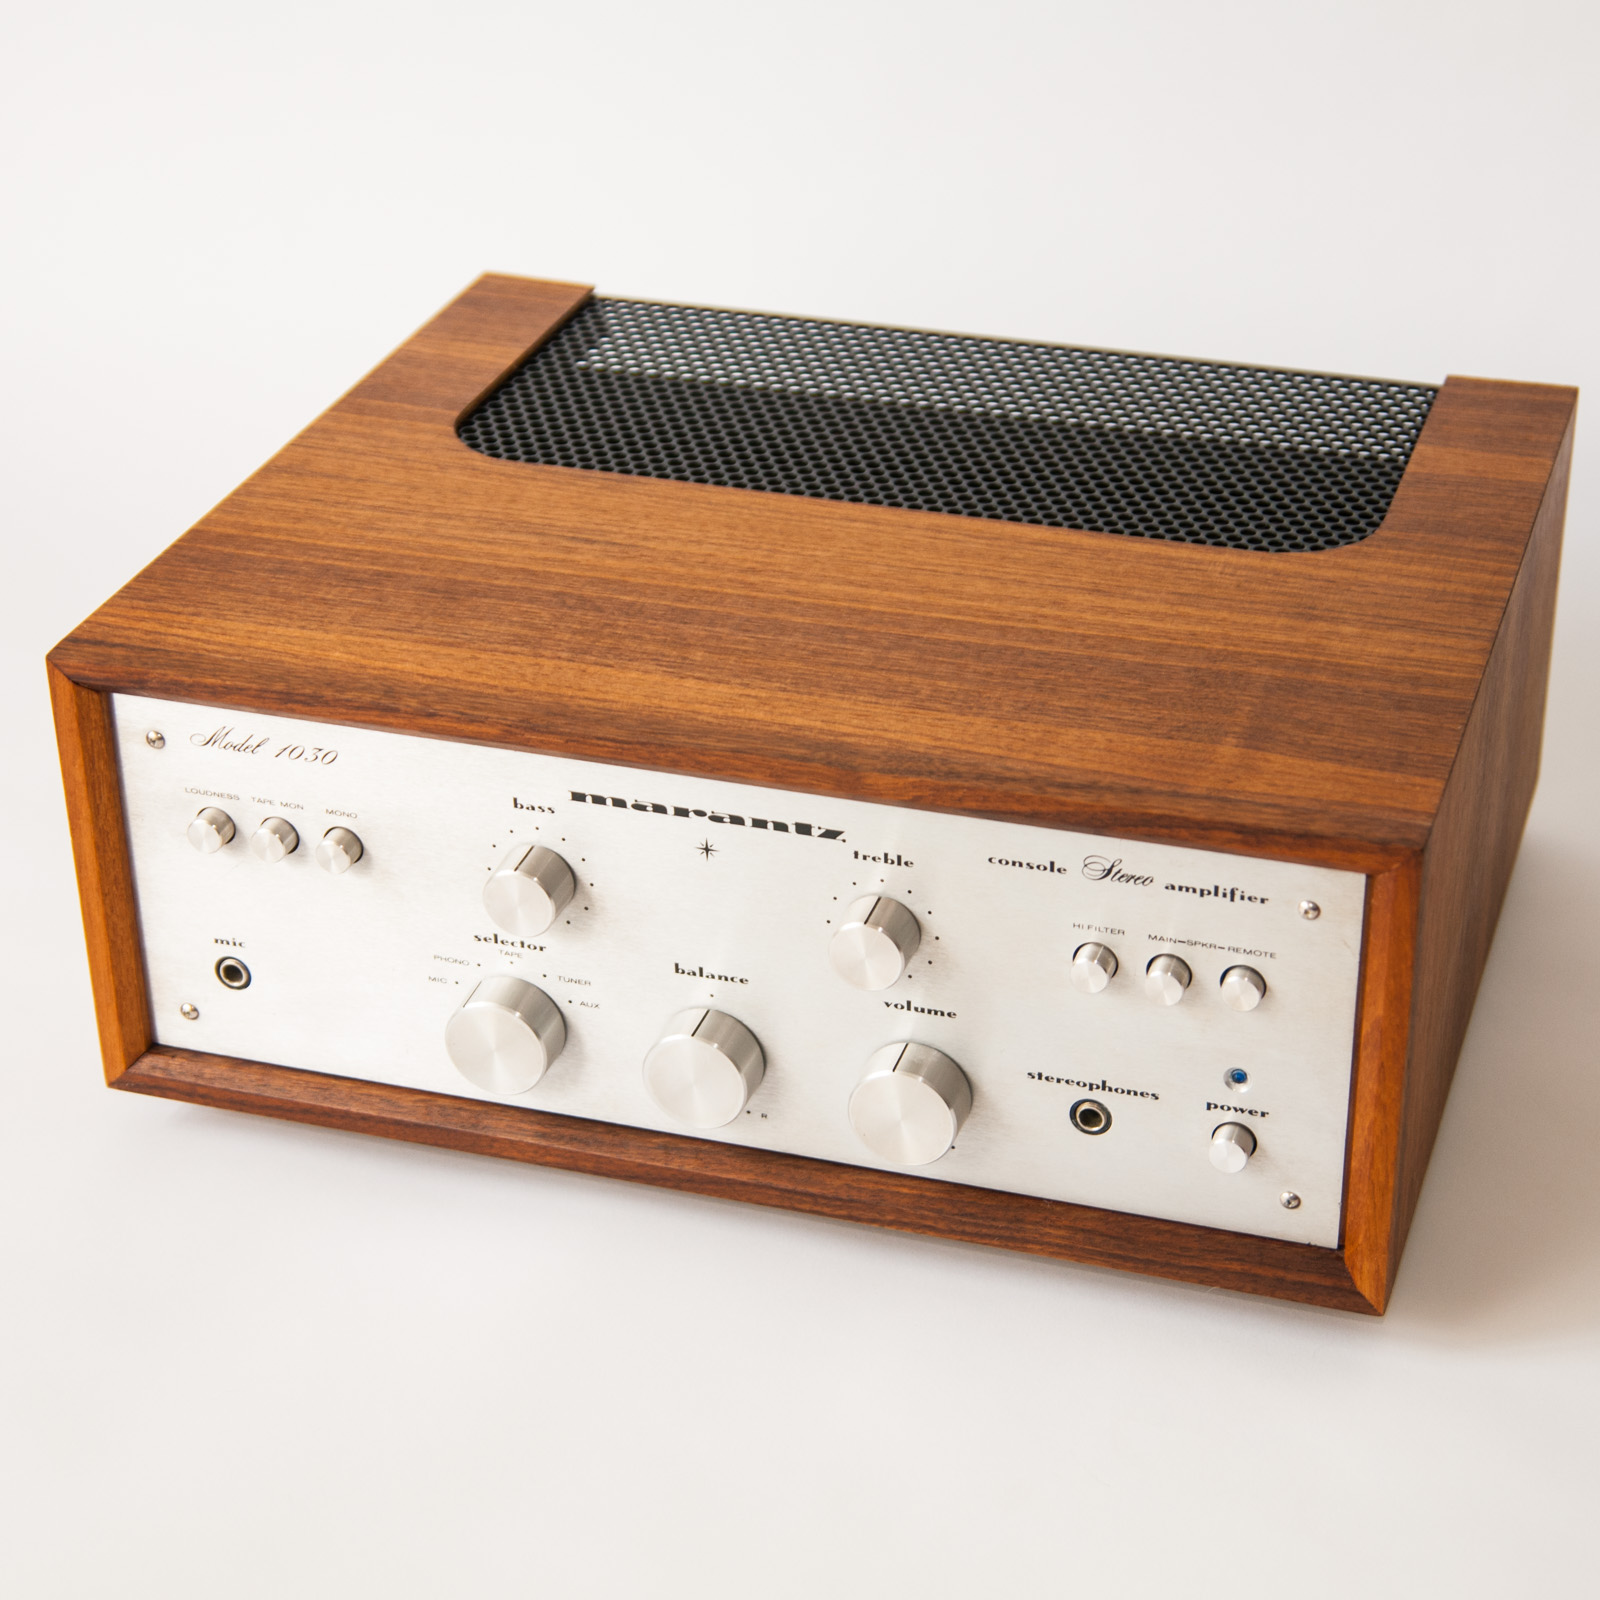
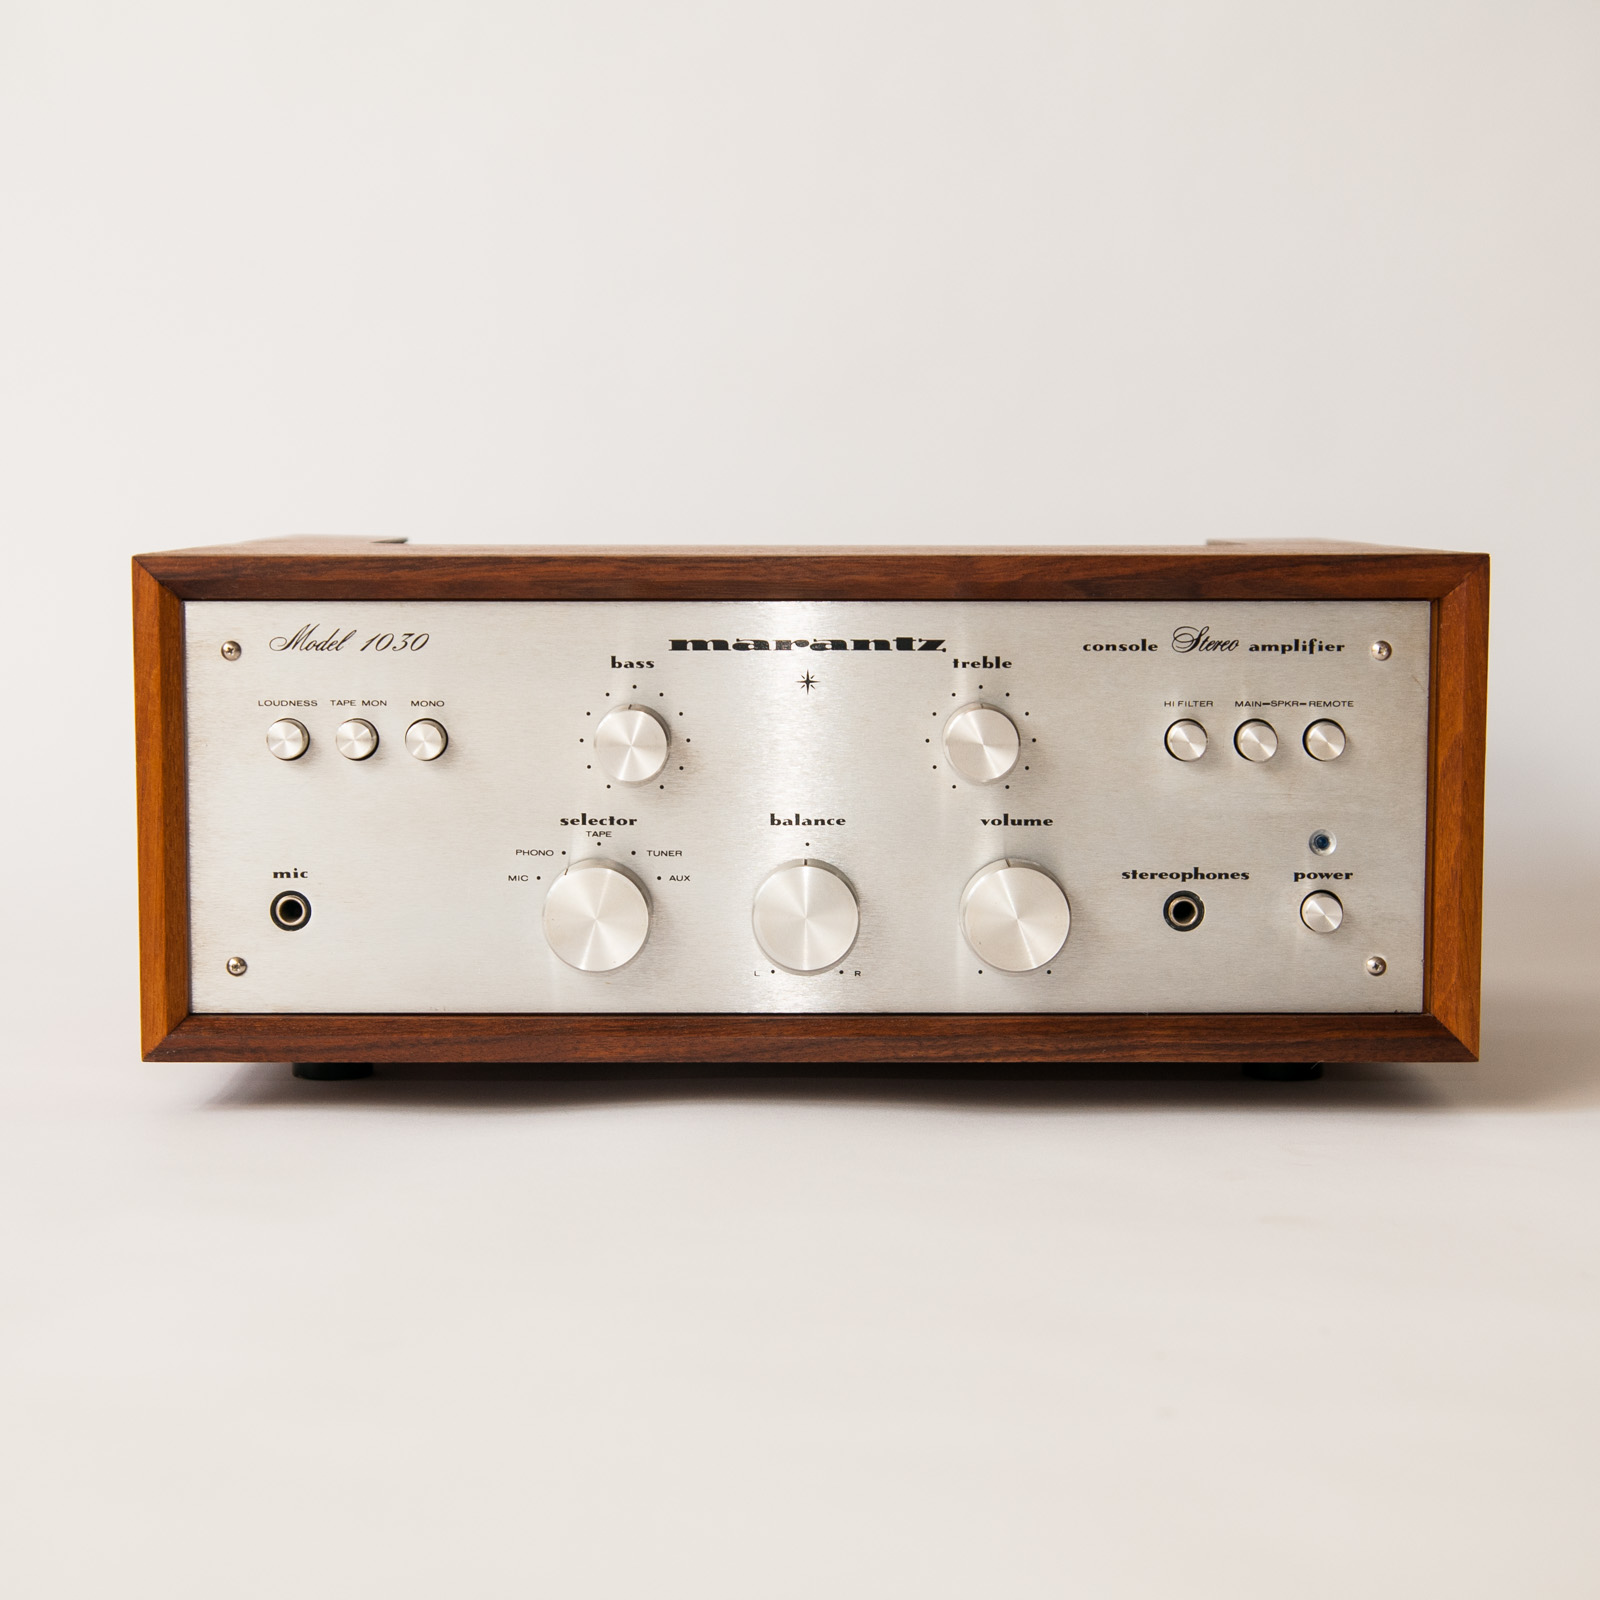
I love the look of the old Marantz amplifiers in a wooden case, but unfortunately they can be pricey to buy and often are in rough shape after years of use. A set of plans for the Marantz WC-10 cannot be found online, however, and so I ended up creating my own version based on photos found around the web.
Here is a log of my build. I would note that there are a few things I might do differently in retrospect. If you decide to follow my drawings, be sure to check measurements against your particular unit.
The basic idea is a rectangular plywood box with a solid wood nose. The solid nose is 1⁄2″ thick, which leaves a lip of 1⁄4″ on the inside edge of the 3⁄4″ plywood. This lip serves as a stop against the overlapping edge of the amplifier faceplate.

Plans
Be sure to check any measurements against your particular unit.
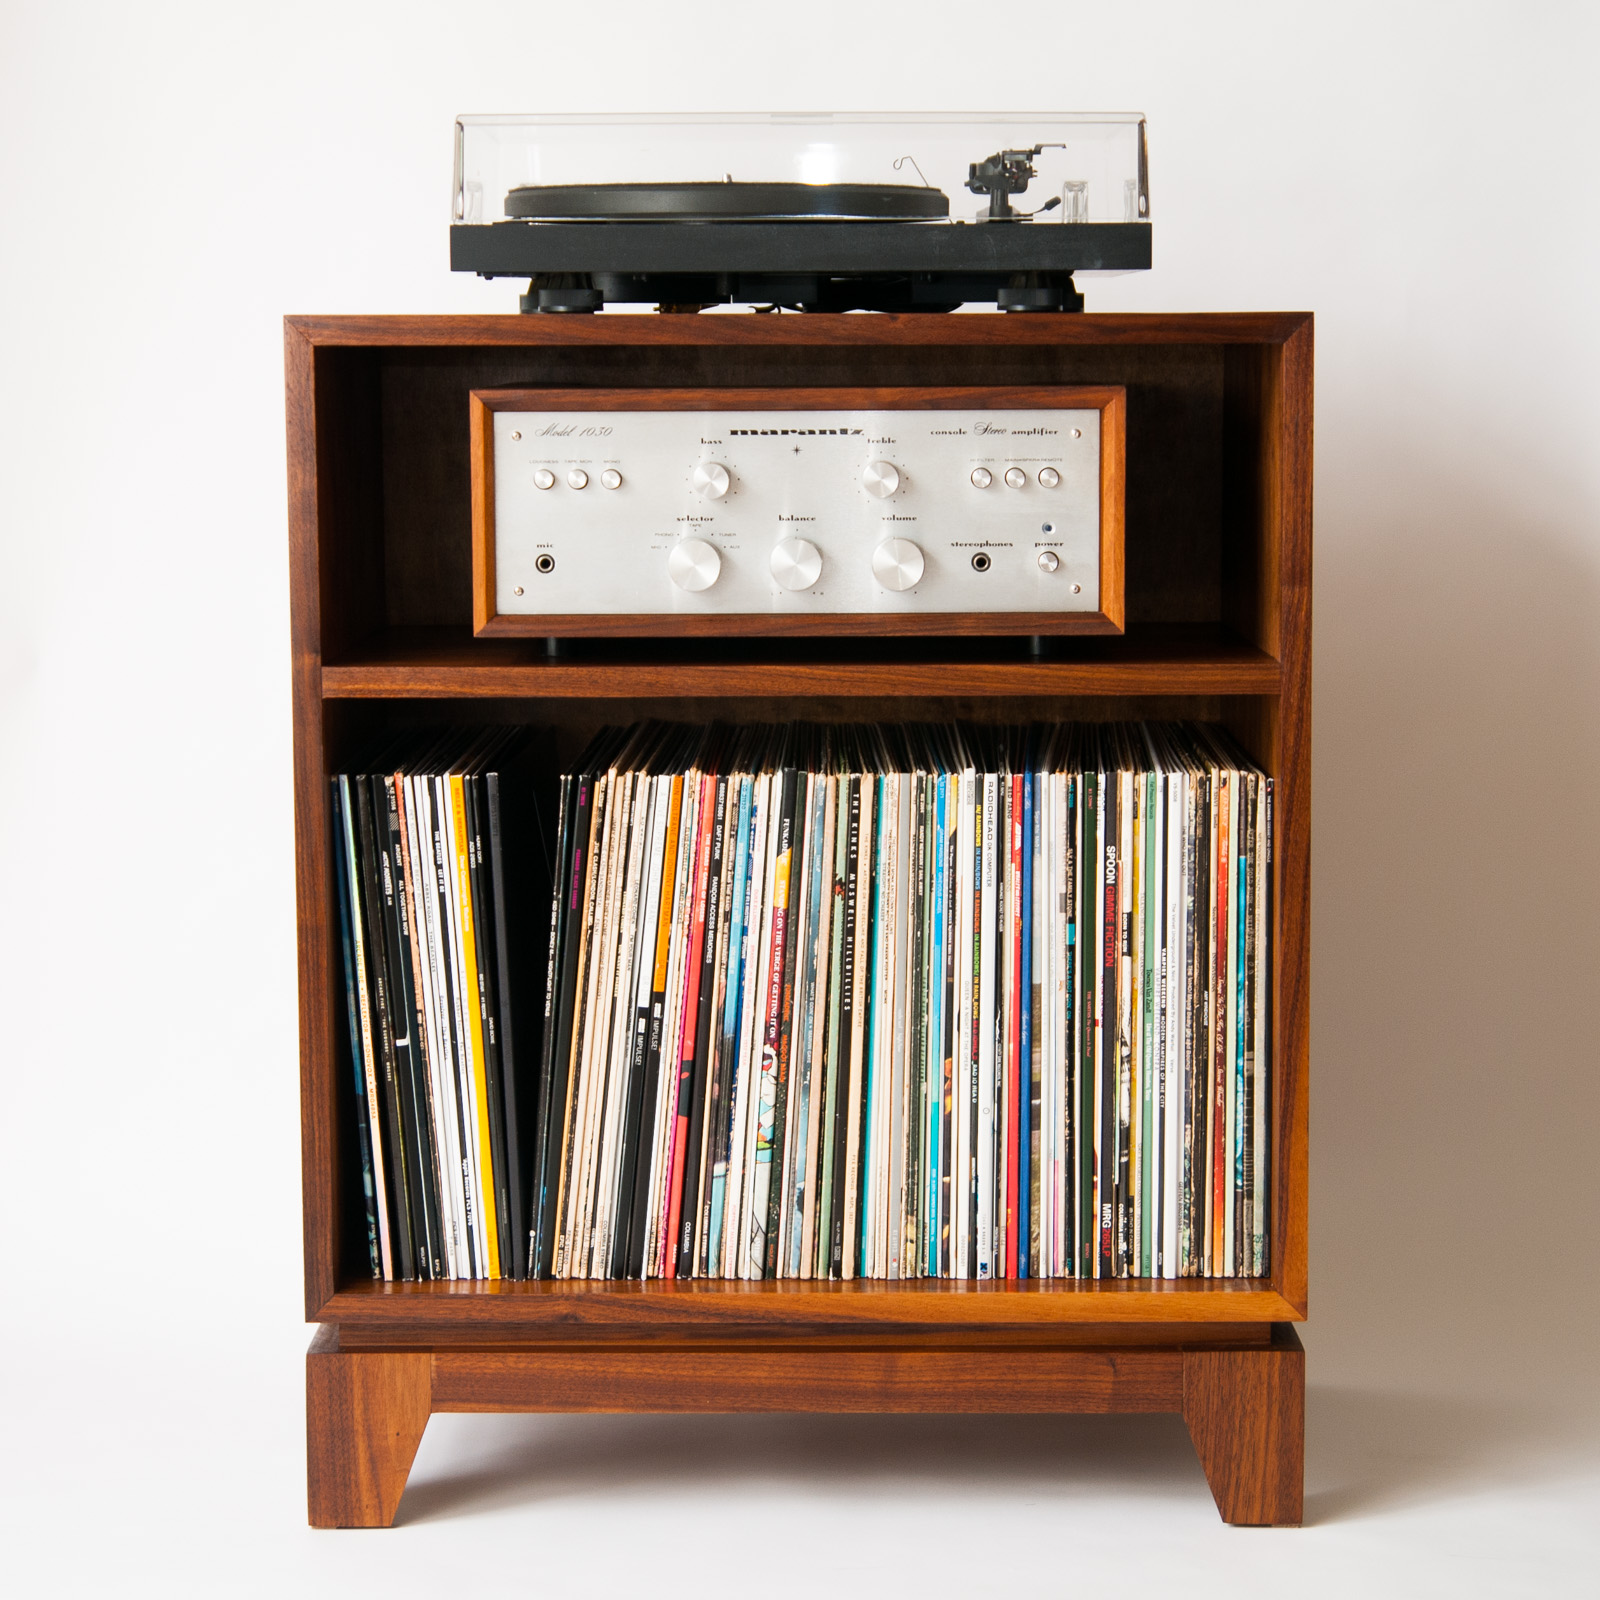
The case is designed to be an inch or so deeper than the amplifier unit, in order to hide the rear connectors.


A. Cutting the stock
The first step is to straight cut the stock to size for the top and sides of the case.
For the top and bottom, the dimensions are 151⁄4″ wide x 12″ deep.
For the sides, the dimensions are 53⁄4″ wide x 12″ deep.
Remember to orient the grain from side to side, in order to match the grain of the solid wood nose.
I wish I had cut all 4 pieces in a row from a longer piece of plywood, so that the grain appears to wrap around the case. In that case, cut in this order: [side][top][side][bottom]. The last bottom edge will not match against the first side, but this will not normally be noticeable. I didn't end up doing this as I made mine from leftover plywood from another project.
B. Attaching the nose
The next step is to mill the solid wood into a 1⁄2″ square strip. You'll need enough to nose all four front edges of the case: 42″, plus extra to account for blade kerf.
Cut strips to match each side of the case: 2 x 151⁄4″, 2 x 53⁄4″.
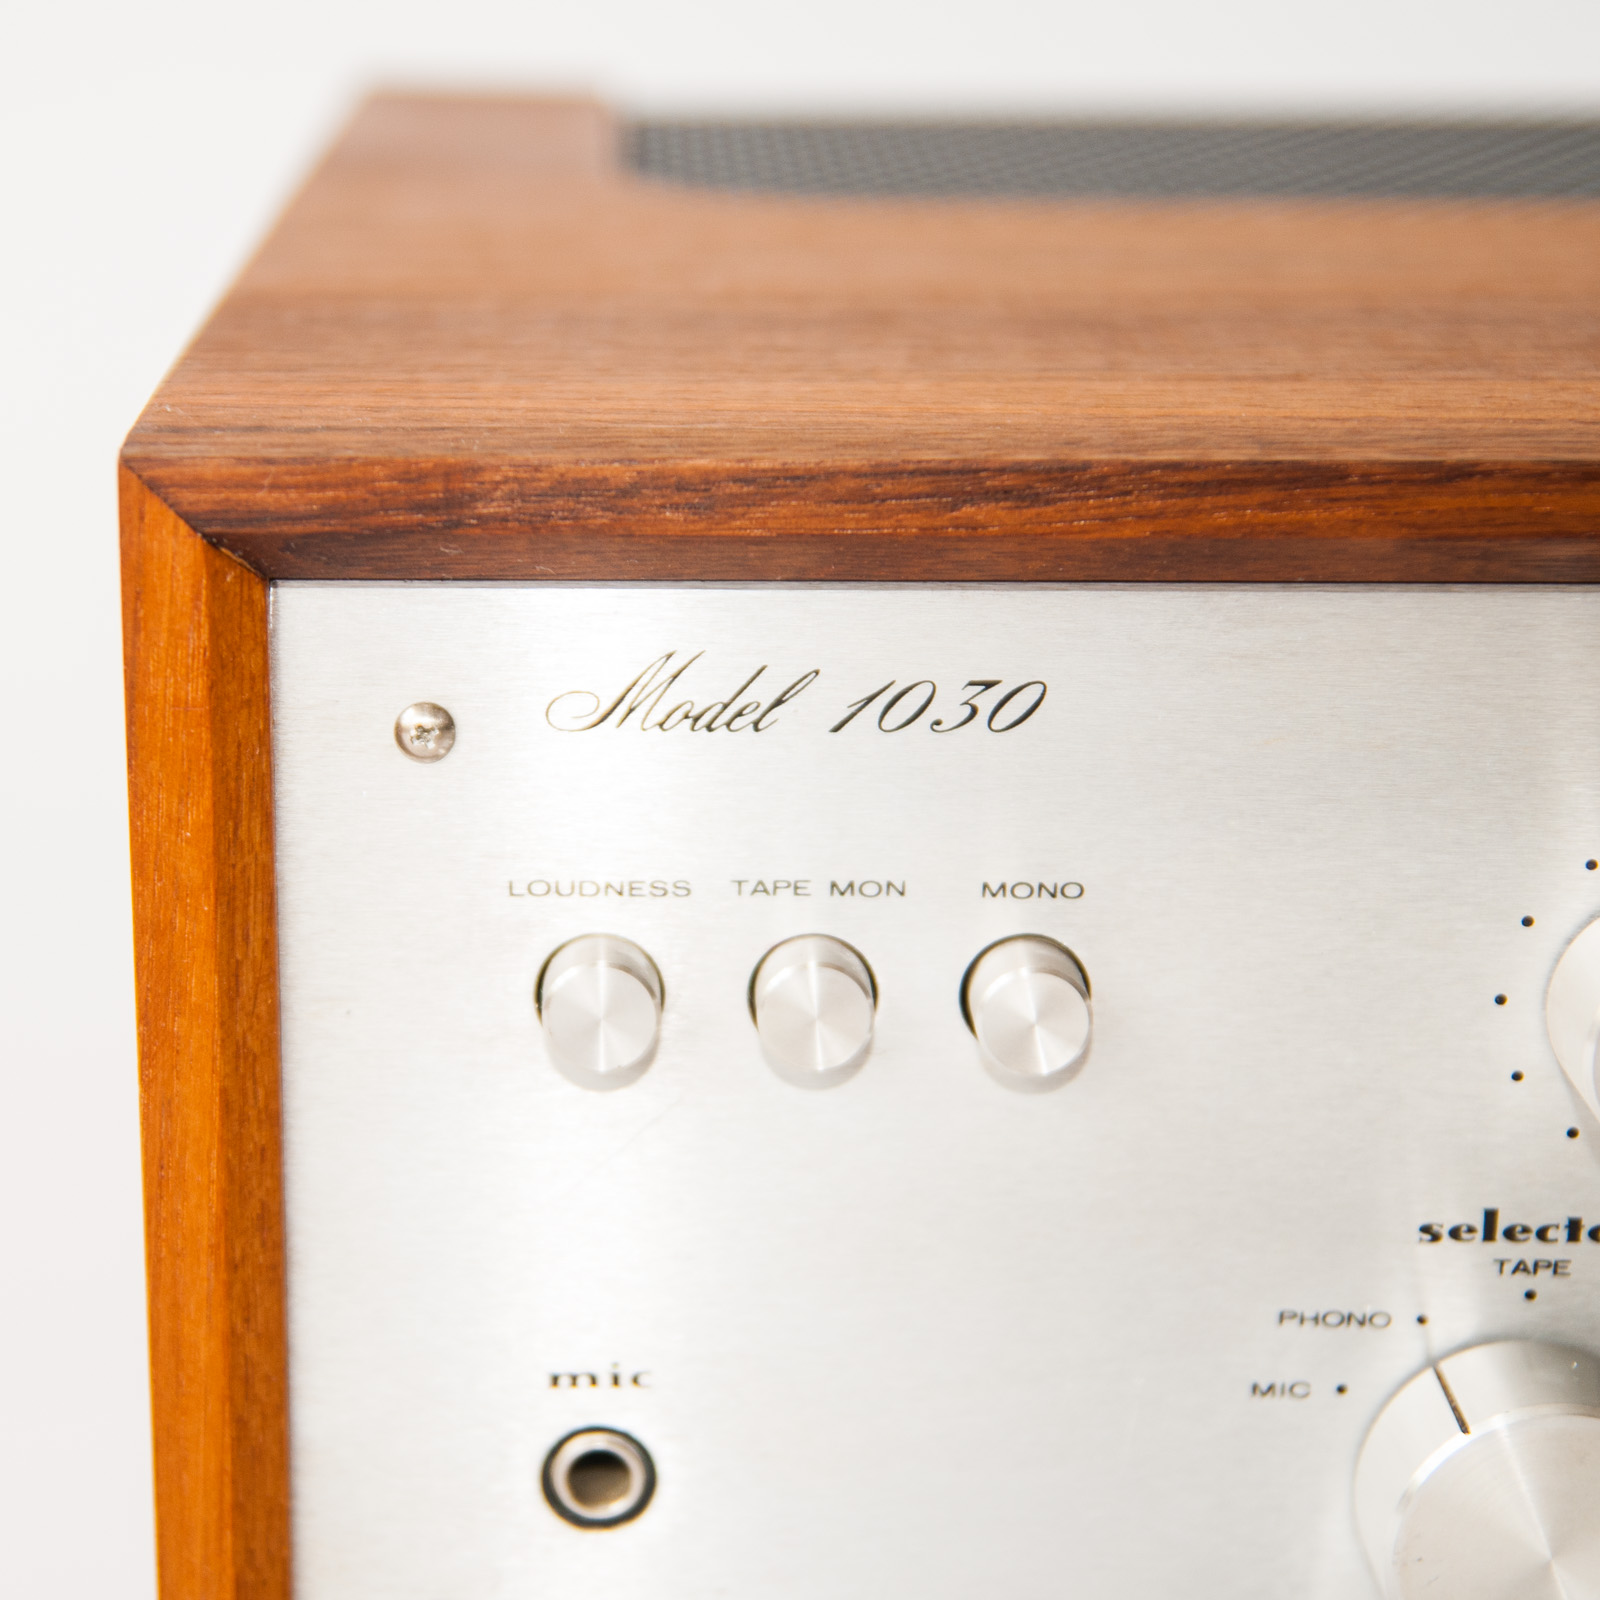
If you are planning to chamfer the inside edge of the nose, as I did, it's a good idea to do it now. Use a chamfer bit (or a plane, if that's your thing) to take off approximately a 1⁄4″ 45° edge.
Glue and clamp the nose strips so that a square edge is aligned with the outer faces of each side of the case, and the chamfered edge is on the front, oriented towards the inside. It's a good idea to err on the side of being slightly higher than the outside face, rather than lower: you can sand it flush later.
It's not a terrible idea to make the nose strips slightly longer than each face, so that you can cut them flush to the side edges.
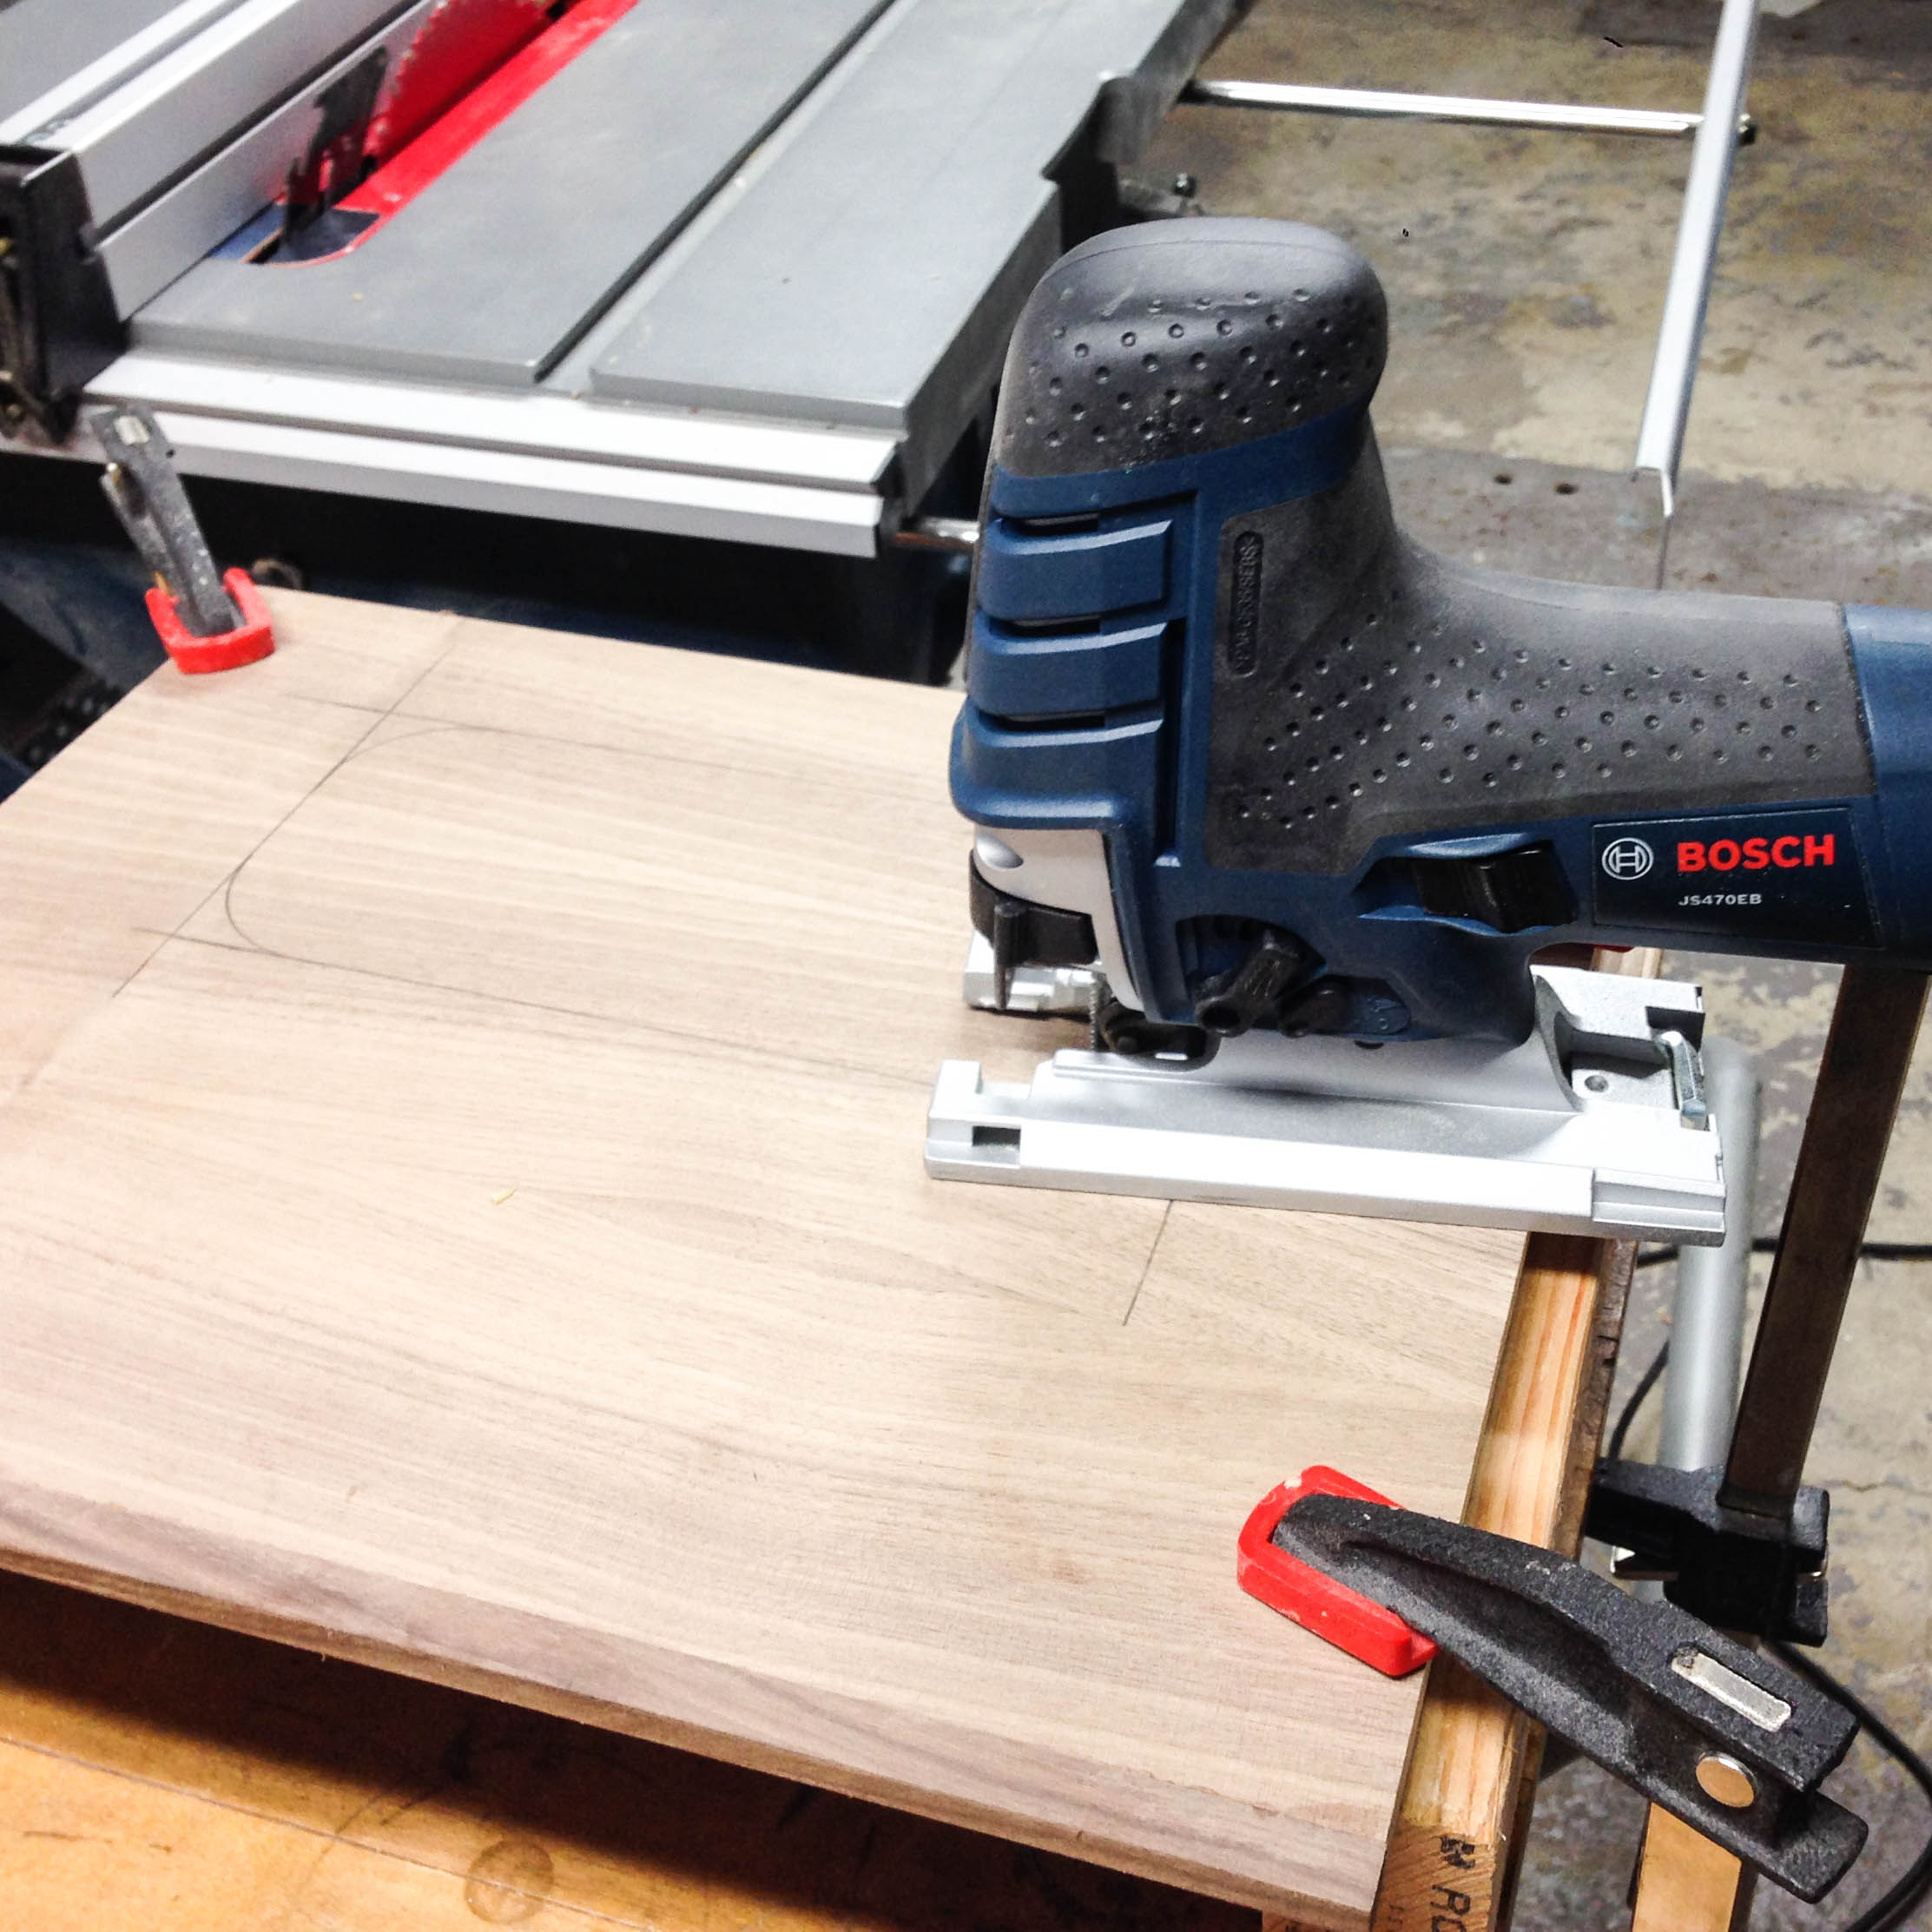
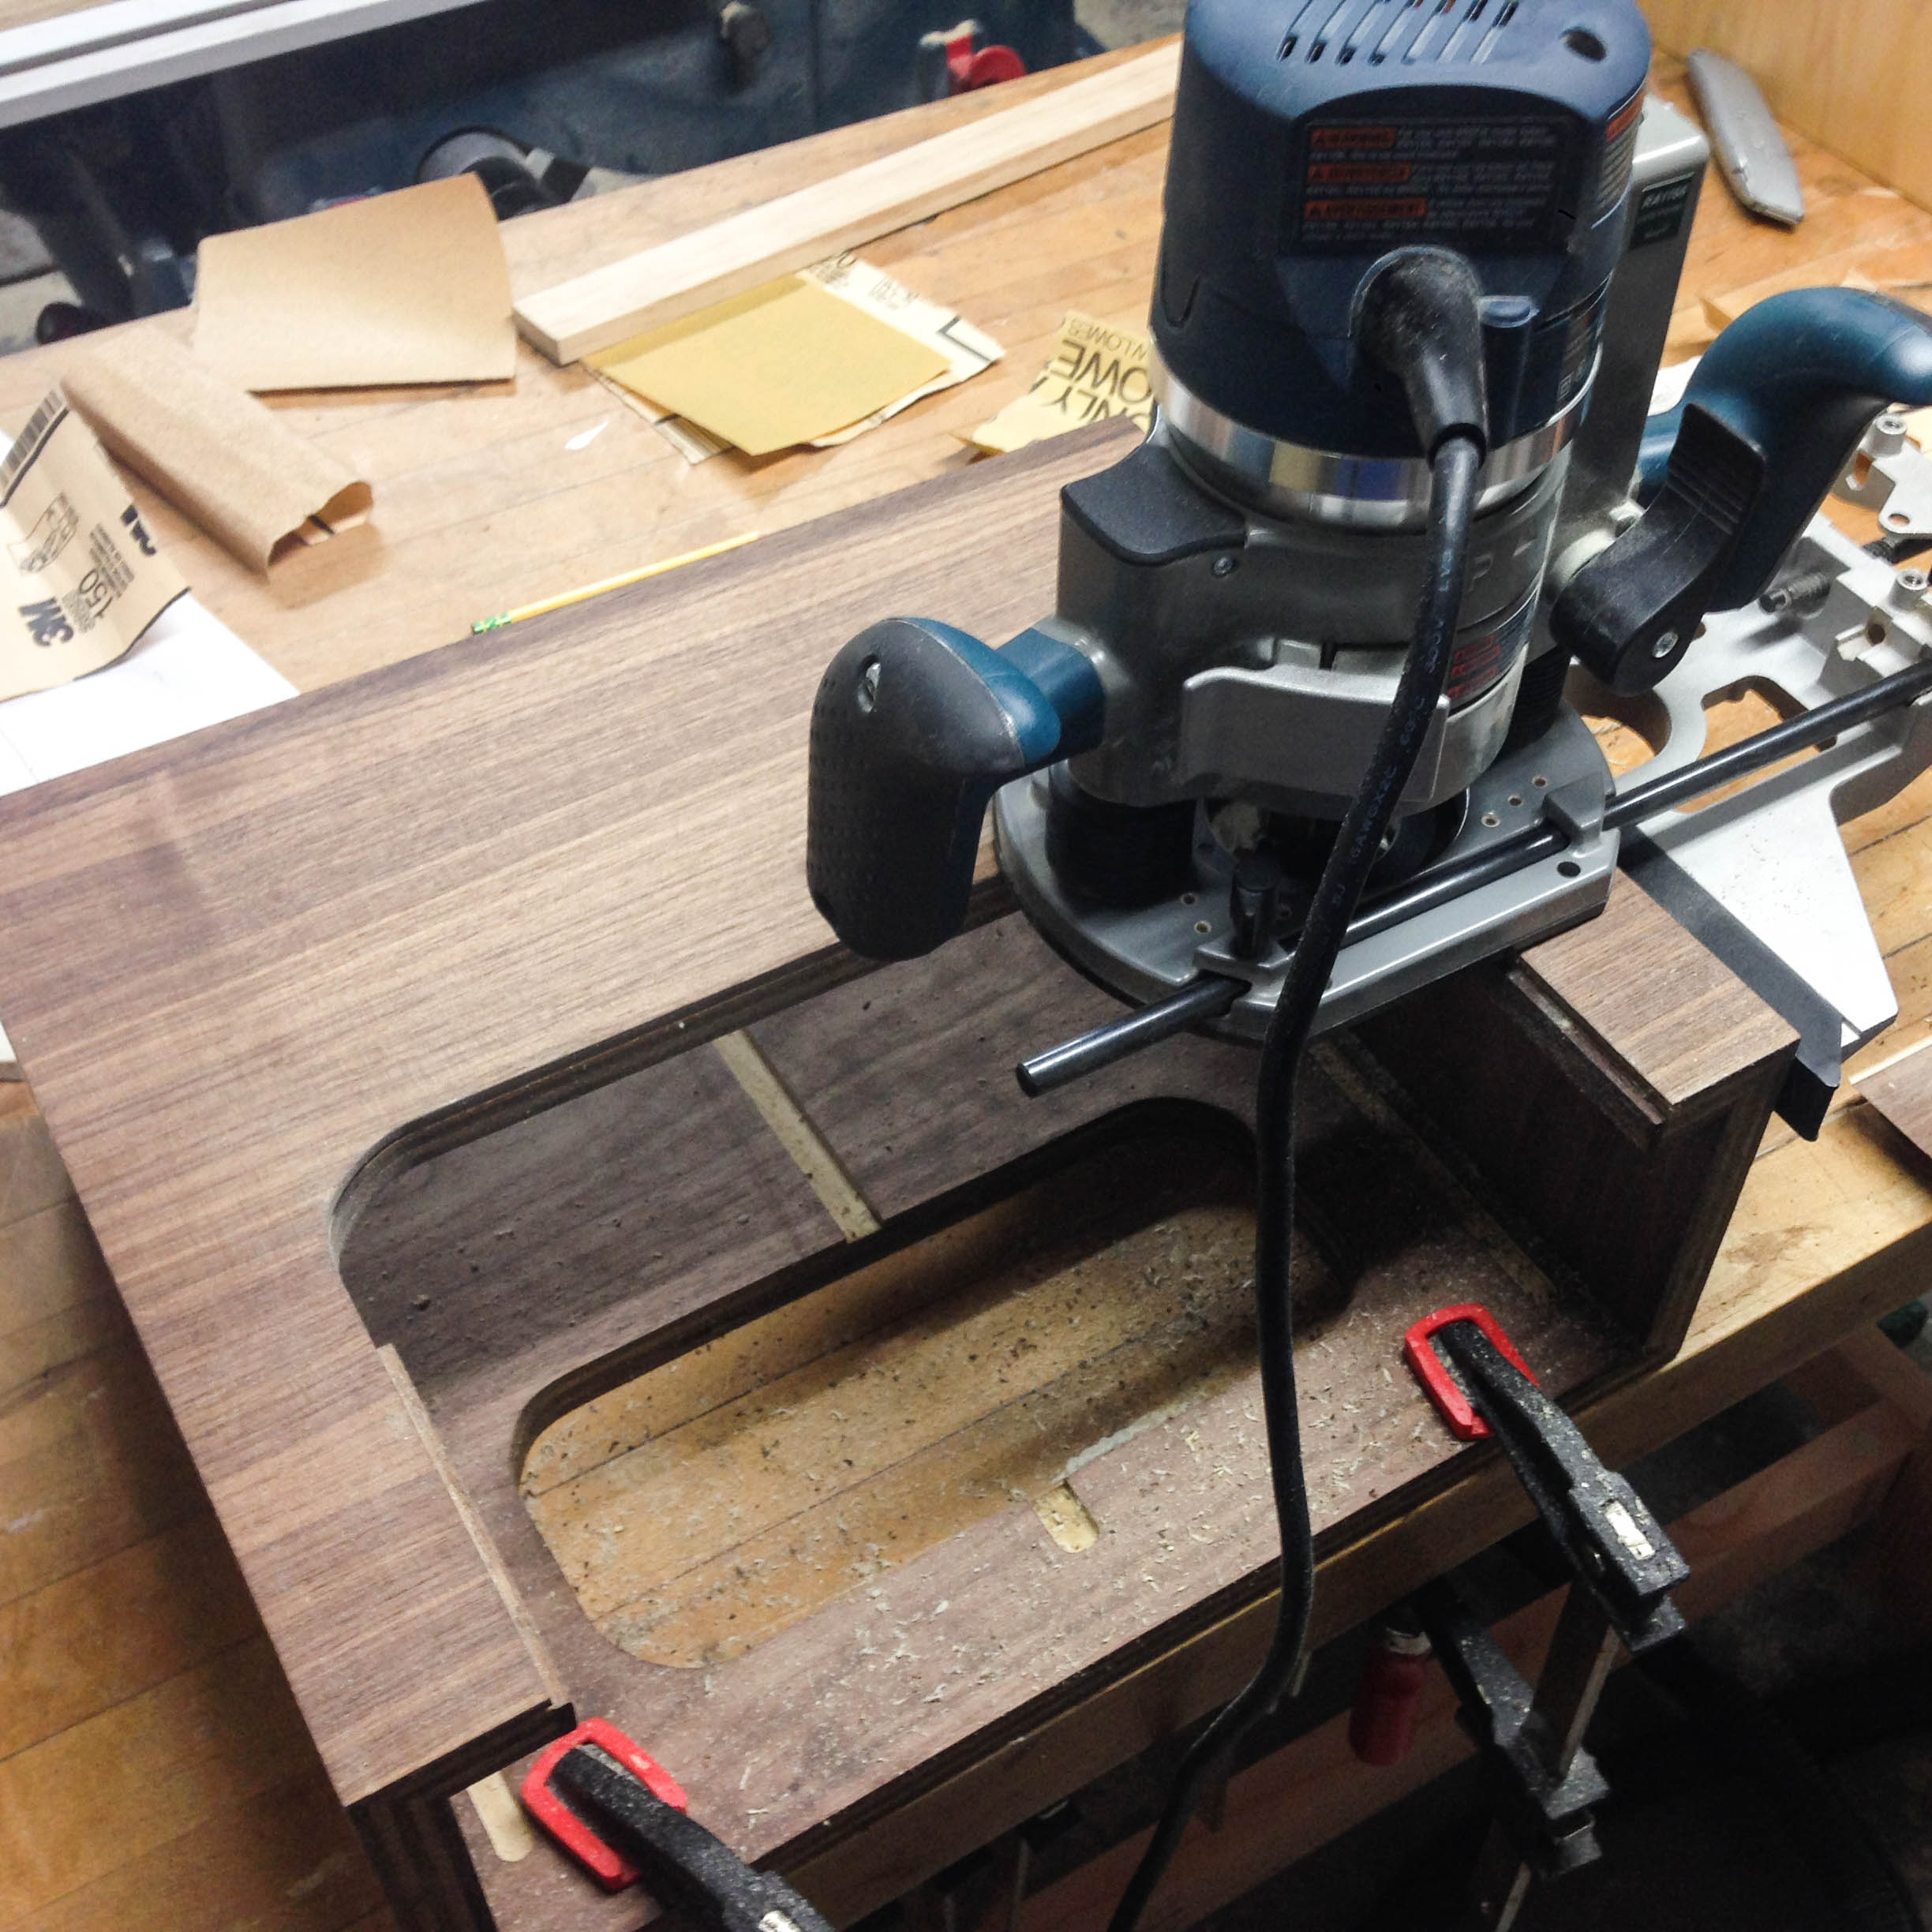
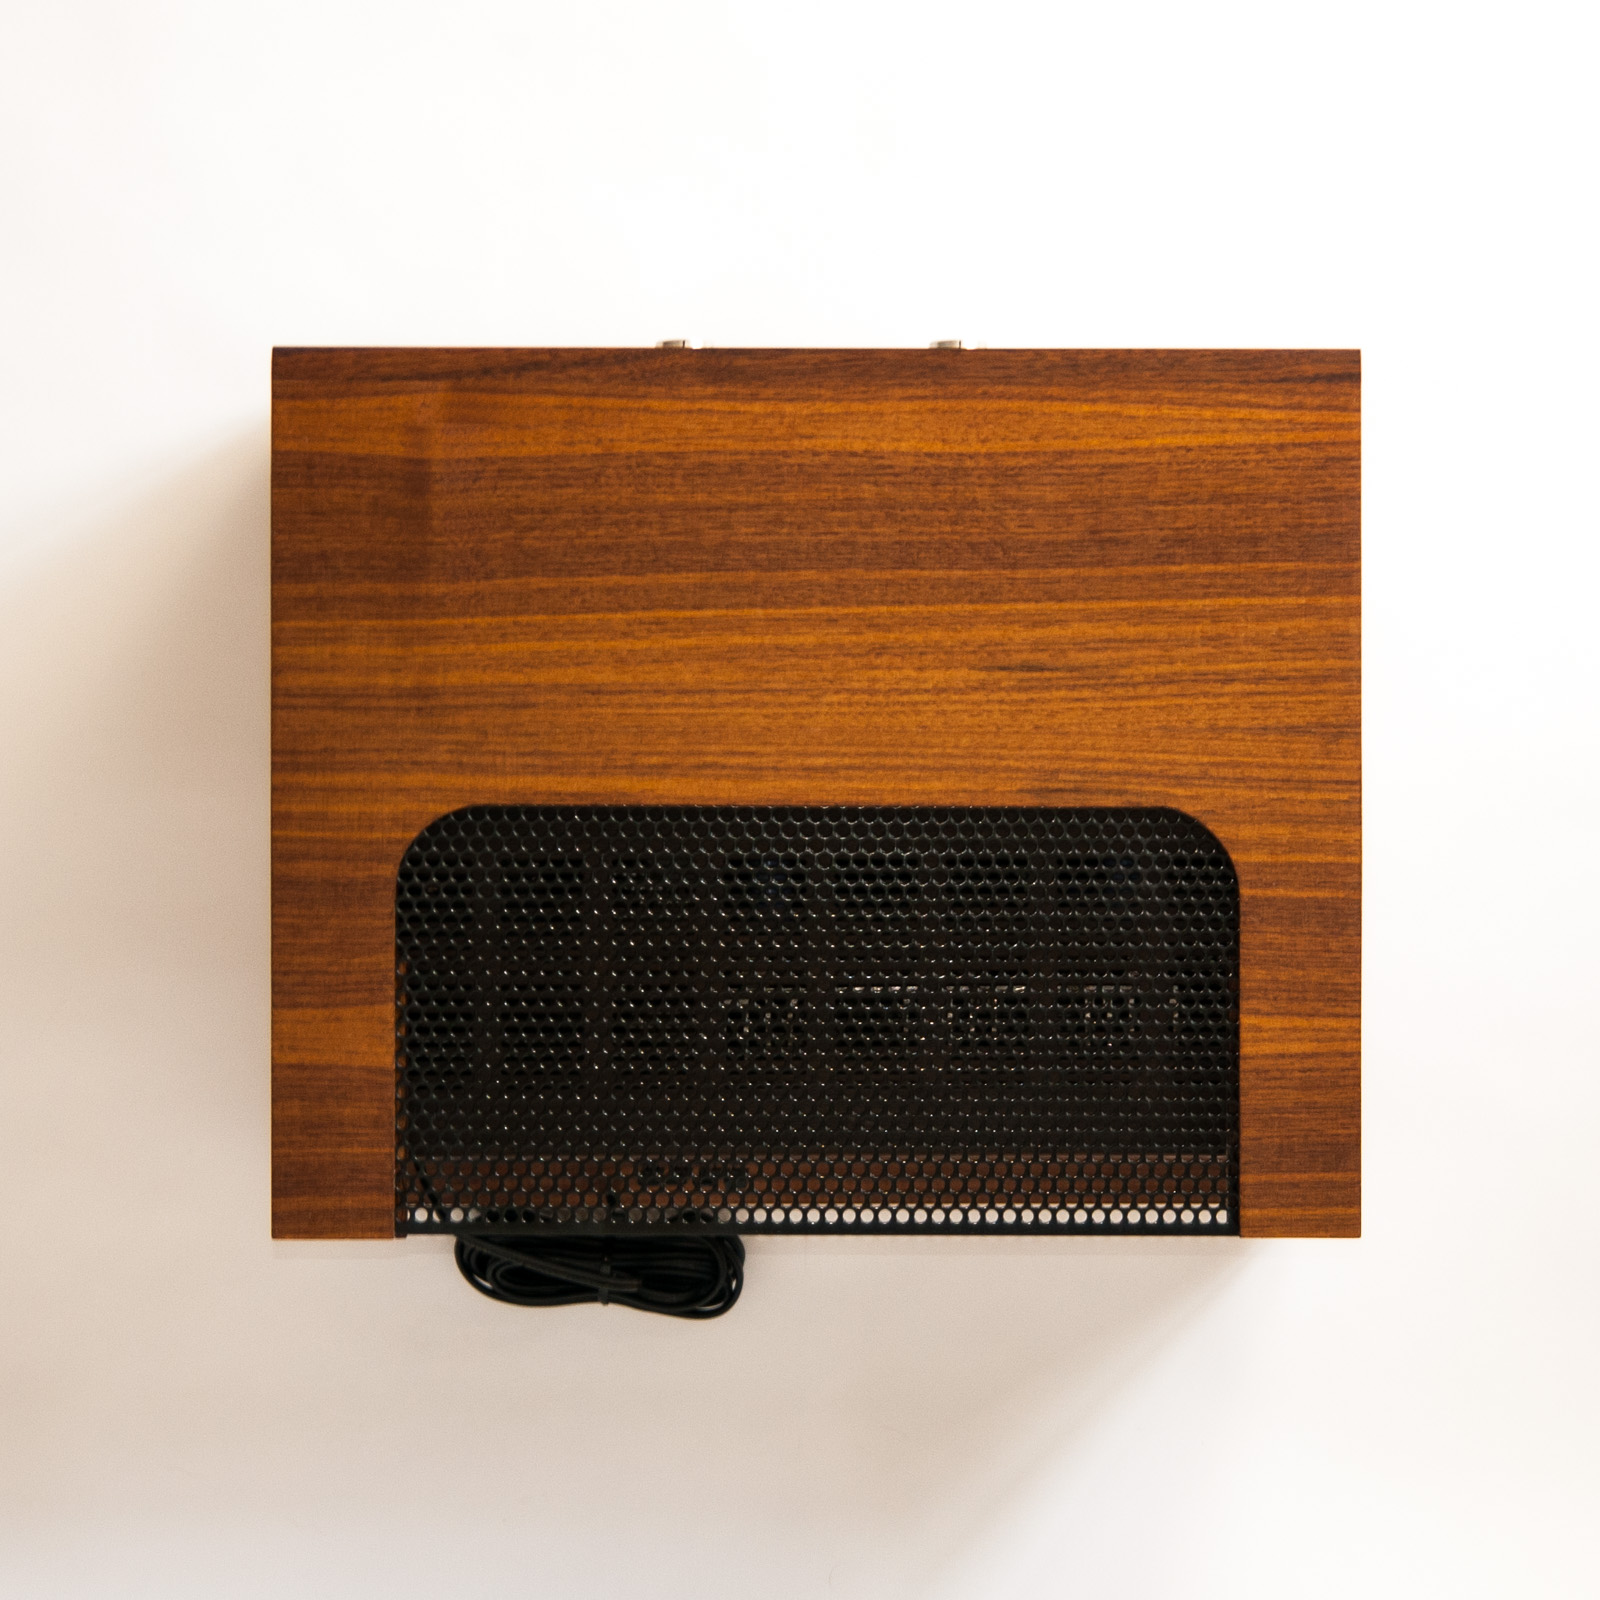
C. Cutting the airflow cutaways
If you haven't already, decide which pieces are the top and bottom.
Draw the top and bottom airflow cutaways on each respective piece, and then cut them out with a jigsaw or band saw.
Note: I made an error when designing the grill cutout on my case. The perforated steel I used for my grill was a 12″ wide sheet, which meant that after cutting the grill opening I had 1⁄16″ on each side edge to fit the grill slot. More on this later…
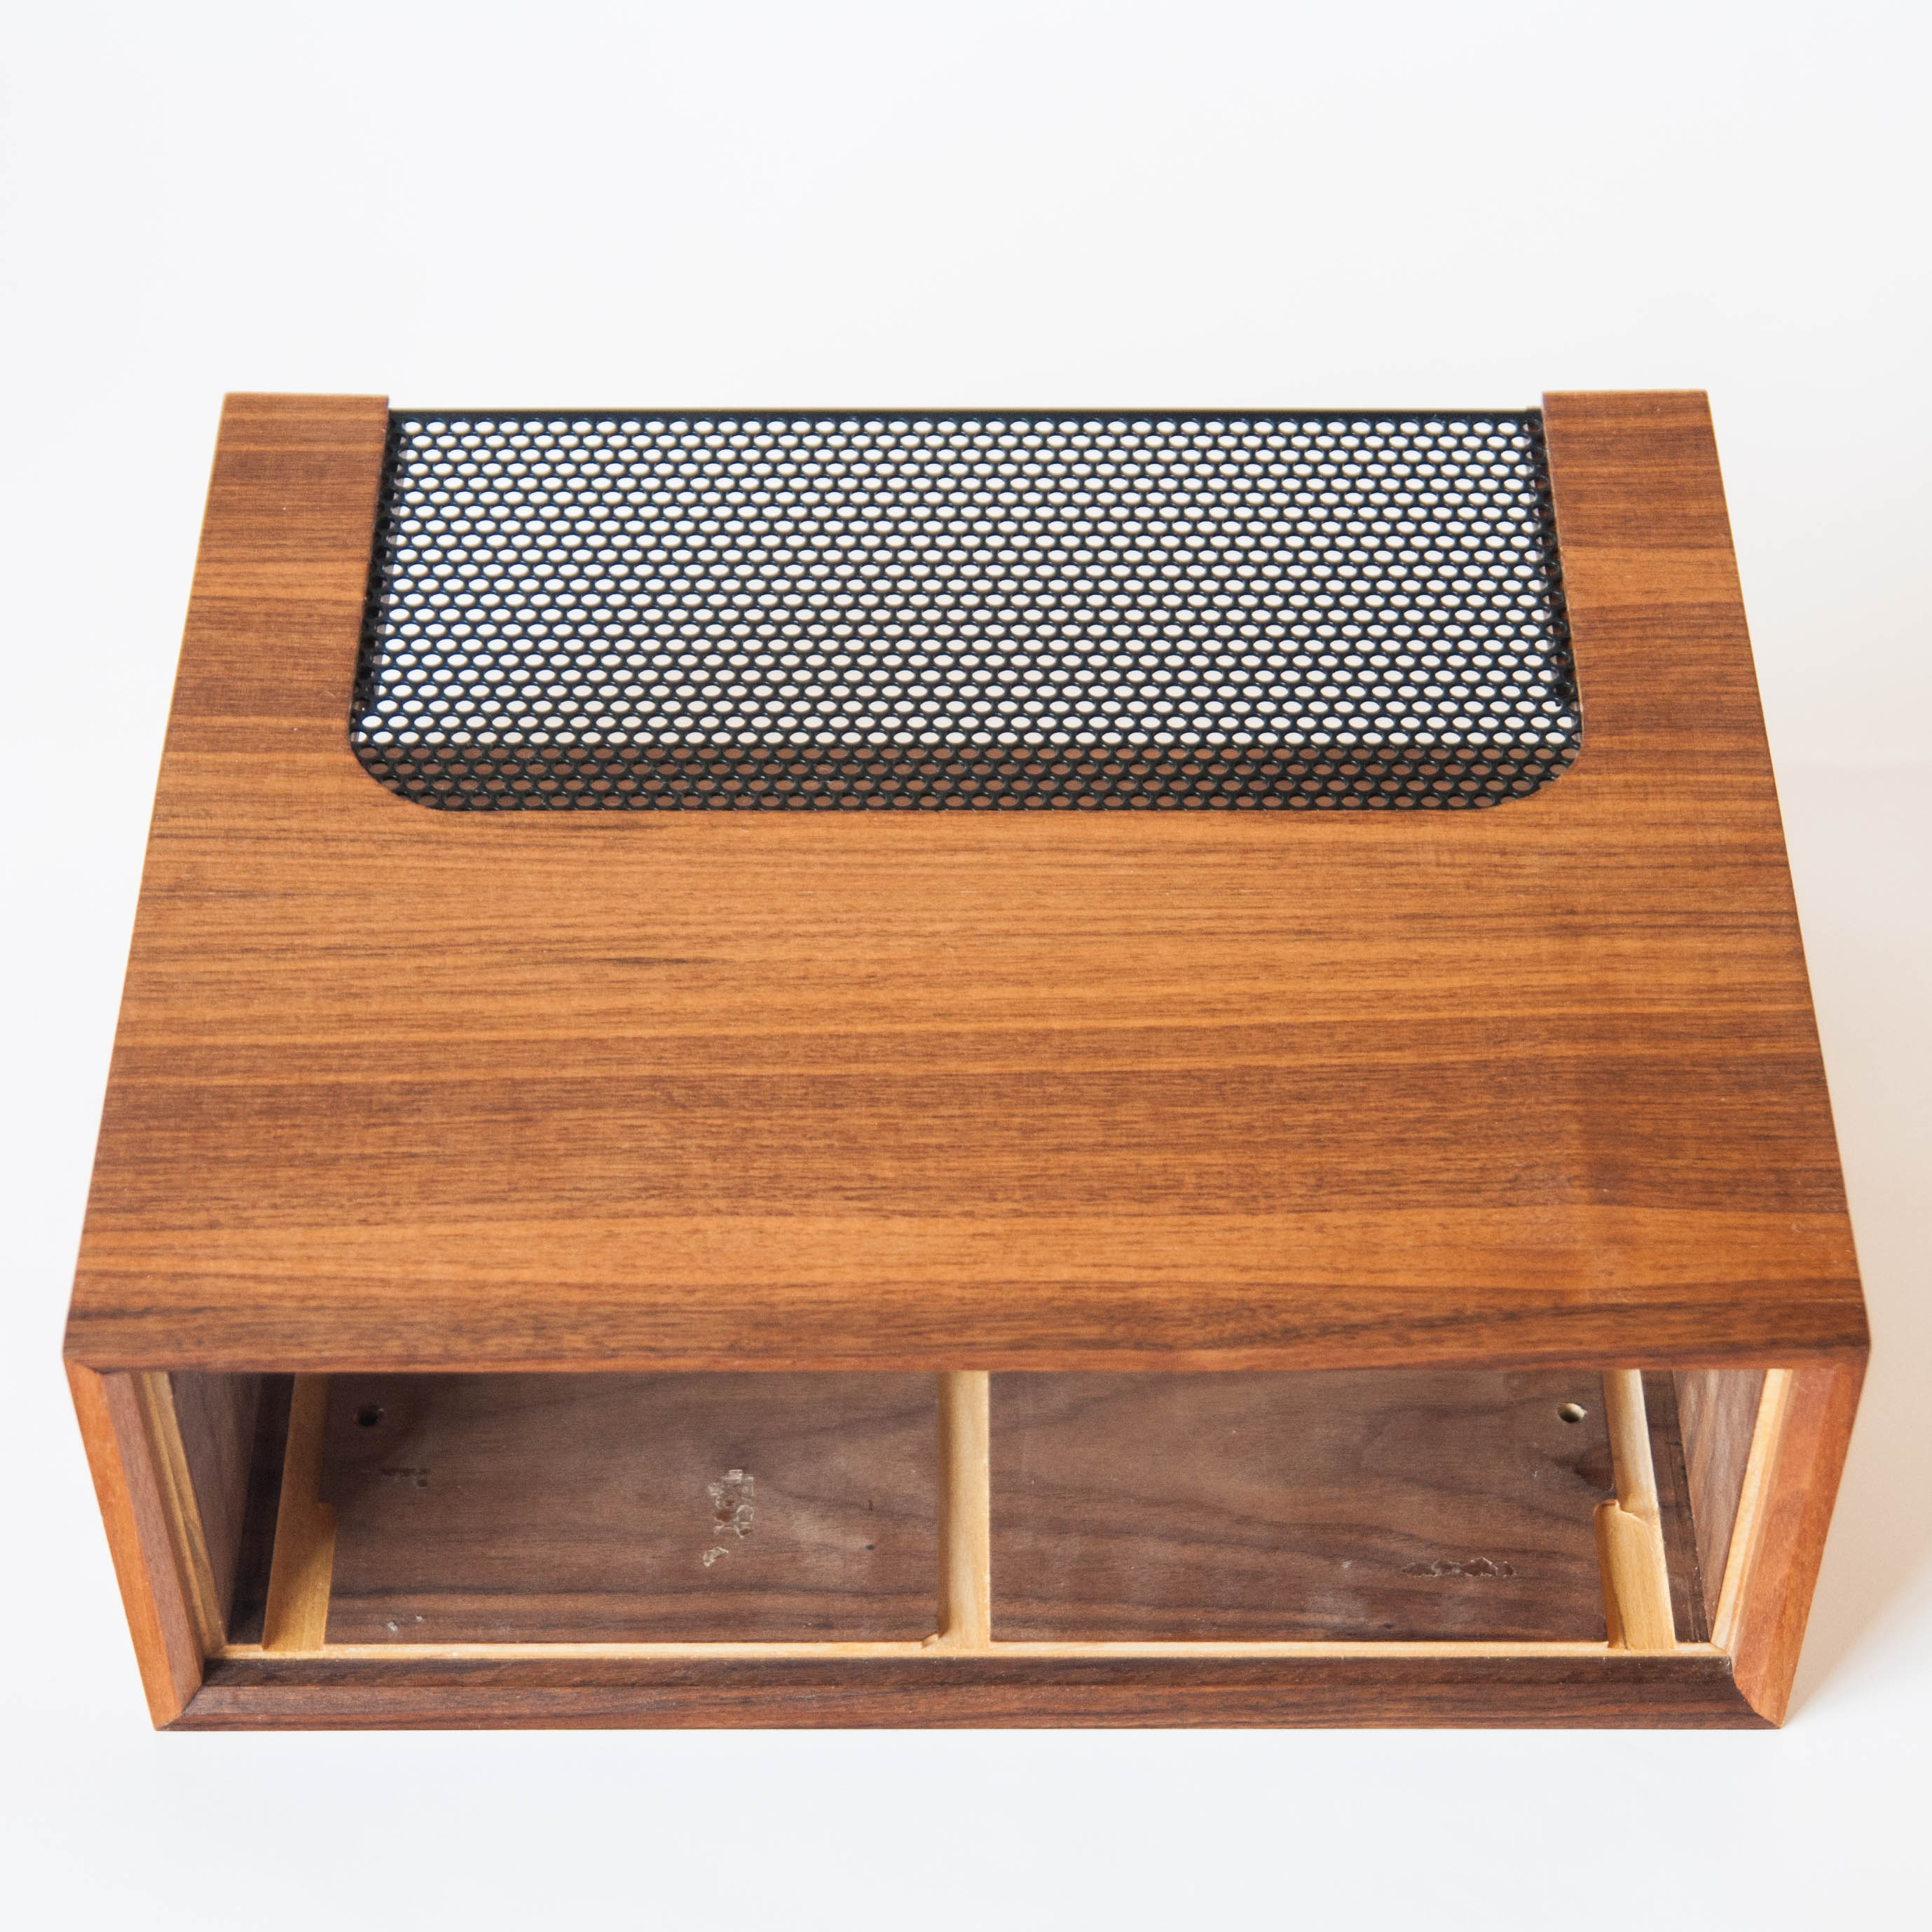
This is also a good time to drill the bottom holes for the plastic feet and cut the grooves on the bottom interior. I used a 1⁄4″ bit for the bottom holes, to give me a bit of play in fitting the screws.
I used a 3⁄8″ router bit to cut the interior grooves 1⁄8″ deep. These grooves allow the amplifier to slide in cleanly without catching the pan-head screws on the bottom of the metal amplifier cover. Be sure to check the placement of these screws on your unit to ensure the grooves will accommodate them properly.
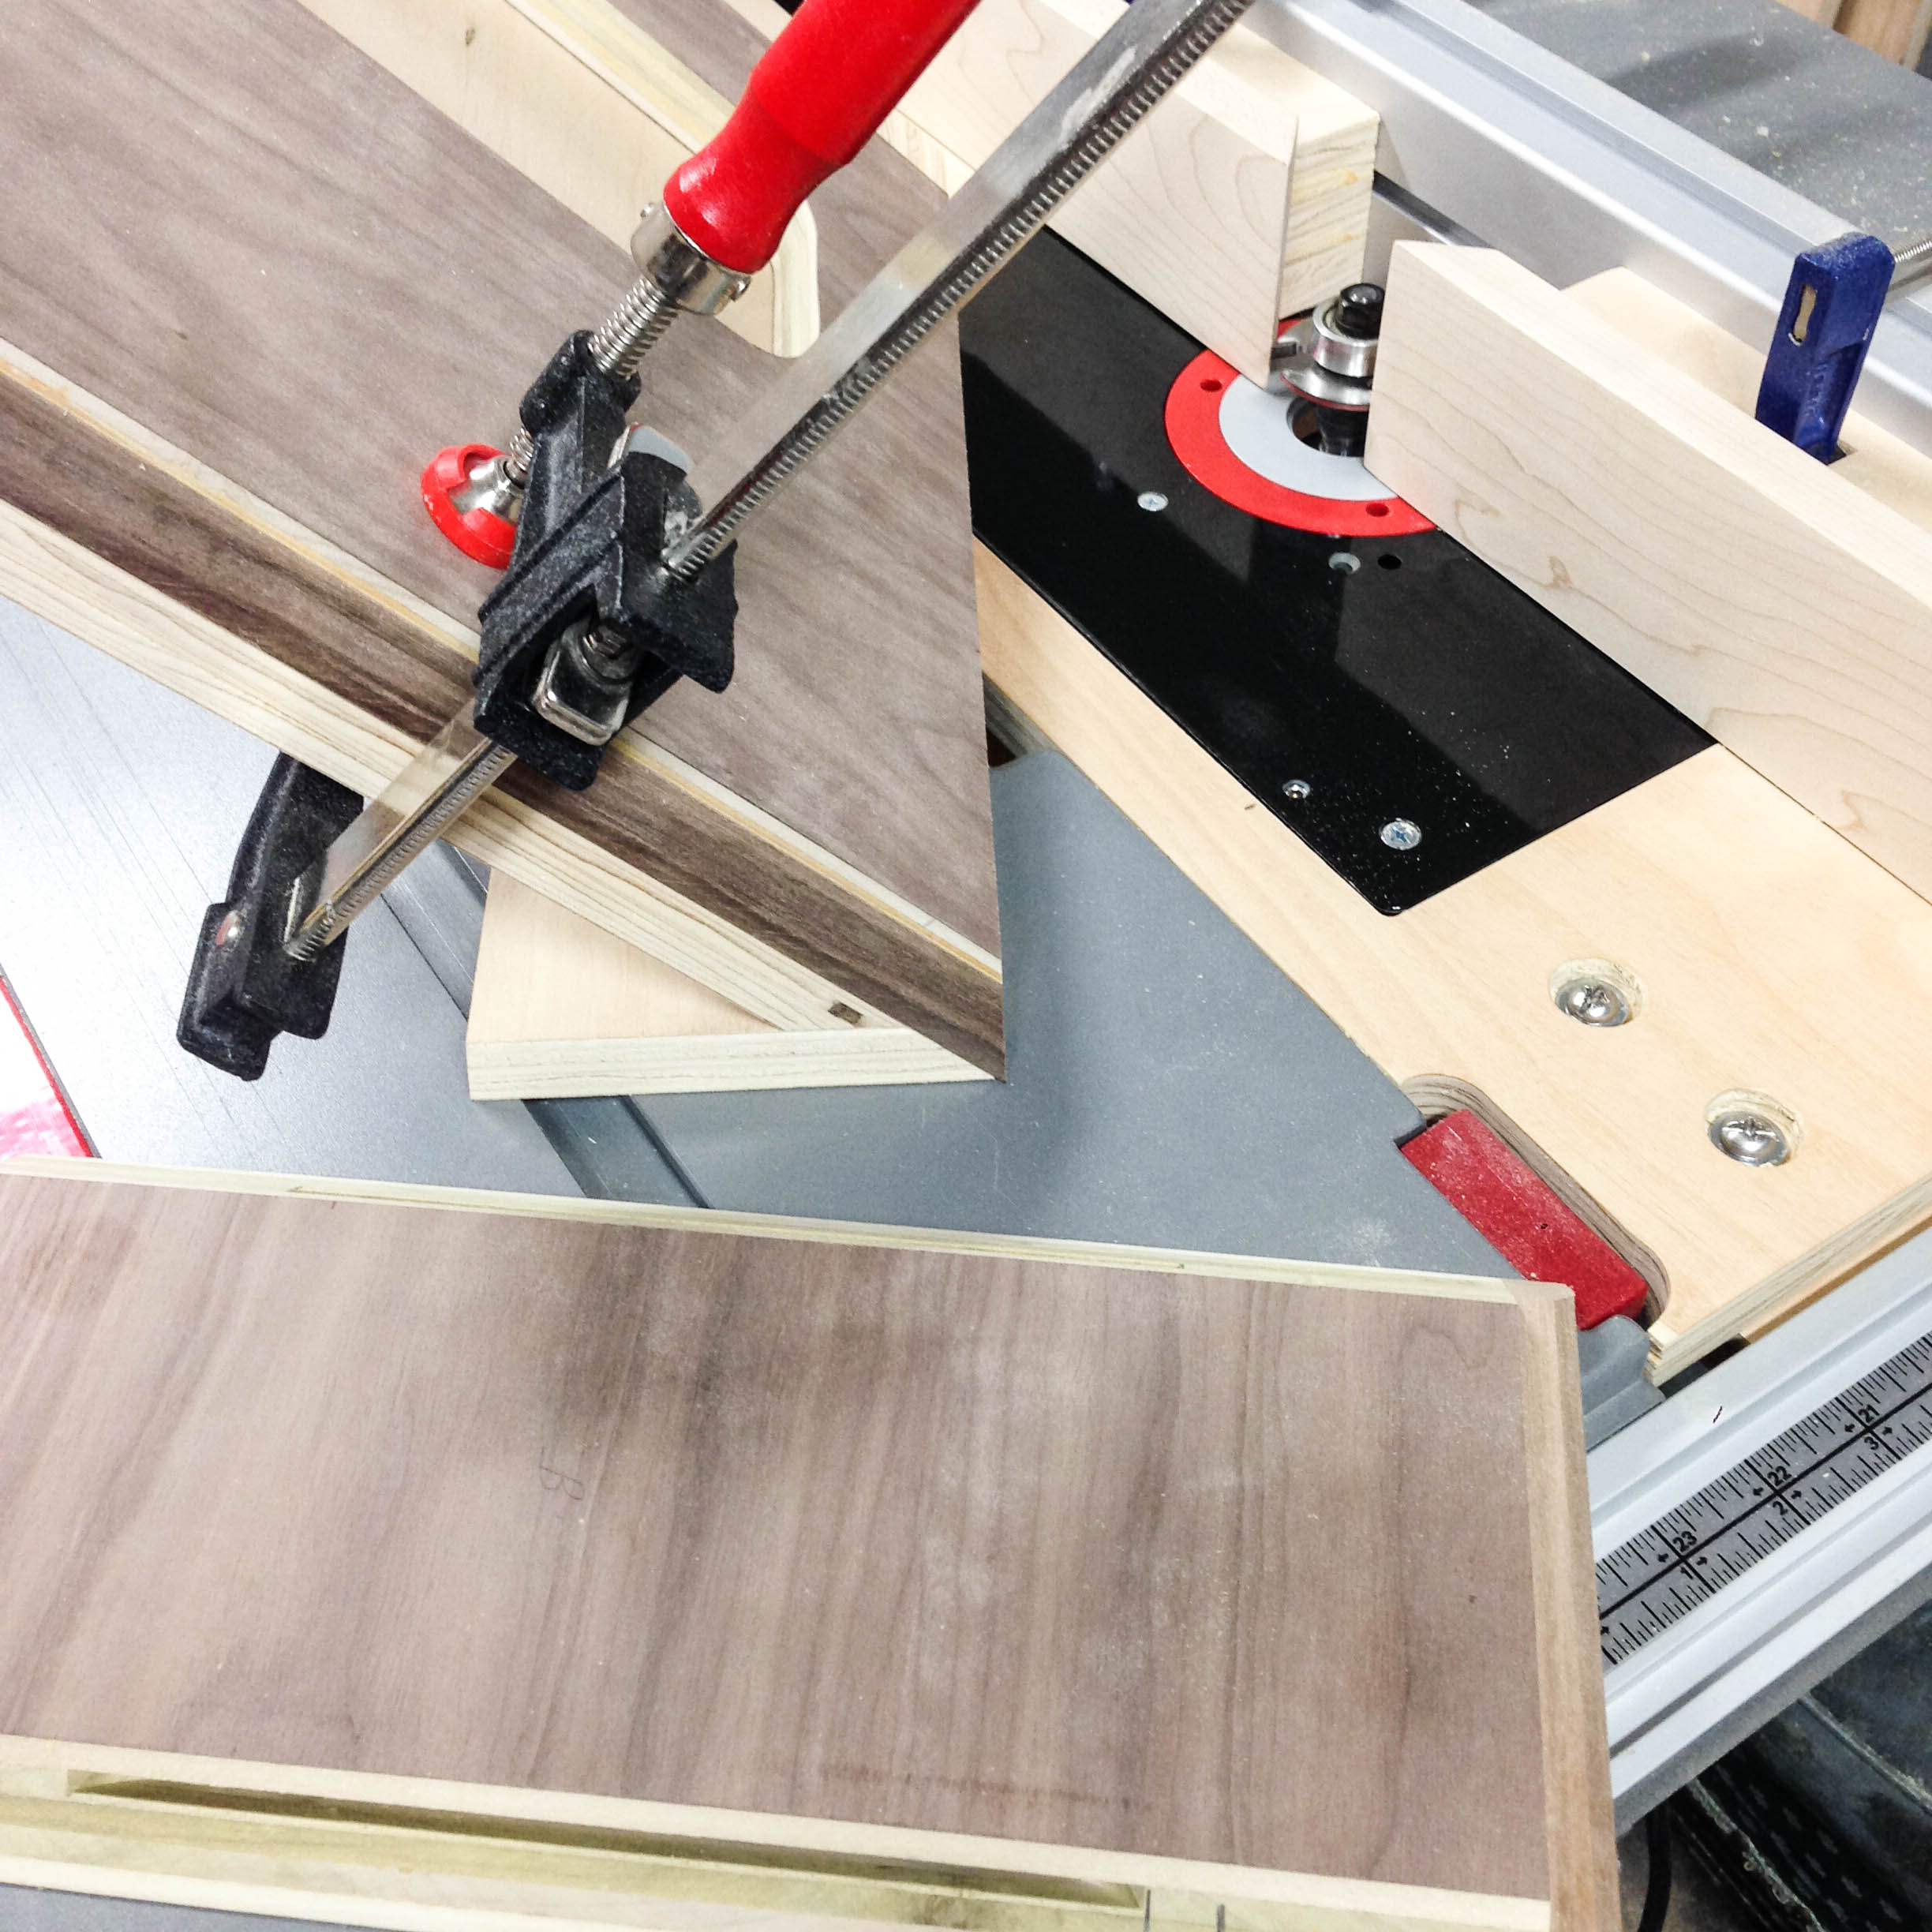
D. Miter cutting the case corners
At this step, we cut 45° mitered edges on each side so that the veneer and solid nose join nicely on the corners of the case.
Depending on which tool you use to make the miter cuts, you will want to ensure that the outside face is on the “better” side of the blade. I used a table saw, so I cut with the outside face upwards to prevent tear-out. Any tear-out on the inside face of the case is not important, as it will not normally be visible
In addition, make sure the nose is cut flush on each edge so it does not catch on the fence.
It's also a good idea to follow the workpiece through the saw with a piece of scrap to prevent tear-out as the end passes through the blade.
After making the 45° mitered sides, you can also add biscuits to the joins using a biscuit cutter or biscuit router bit. These are not required but make fitting the case together much easier.
Make sure your biscuit slots are high enough on the mitered side so that you do not cut through to the outside face!
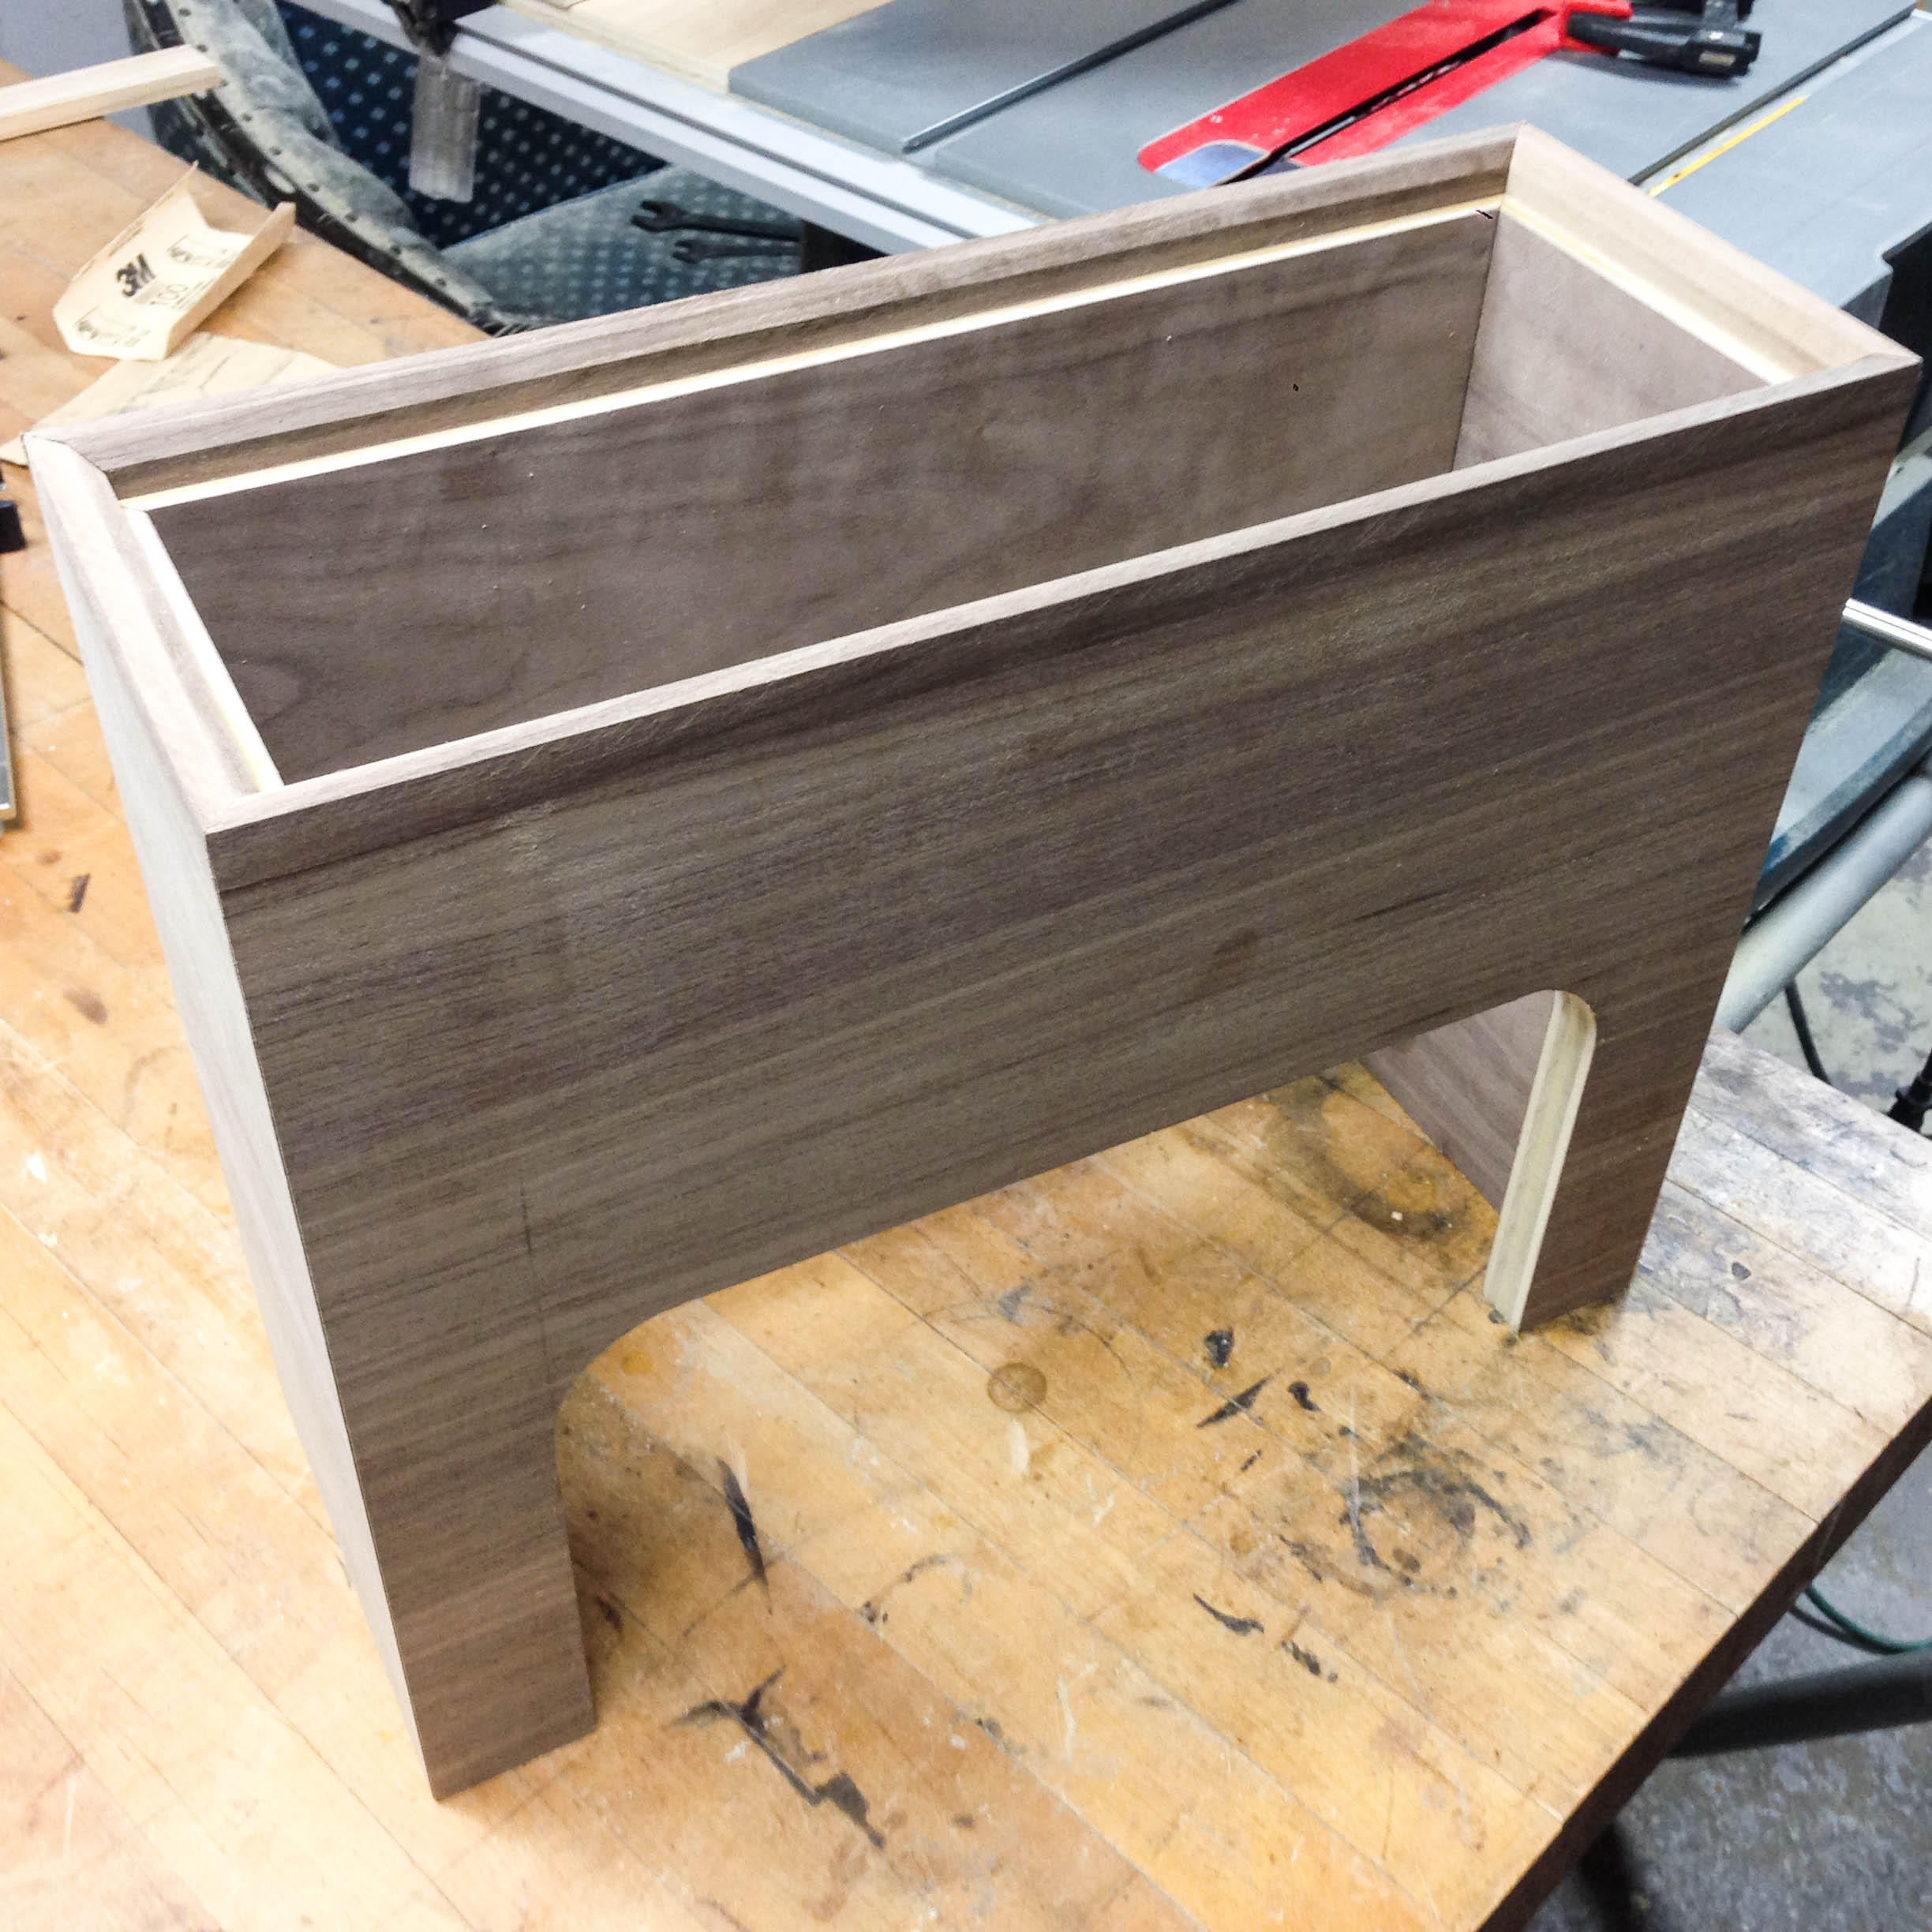
E. Dry-fit and test amplifier
It's a good idea at this point to dry-fit the case and test how the amplifier slides in.
This is much easier to do if the biscuits are dry-fitted in place as well.
This is how I discovered how the bottom metal case screws affected the fit, and added the interior grooves to compensate.
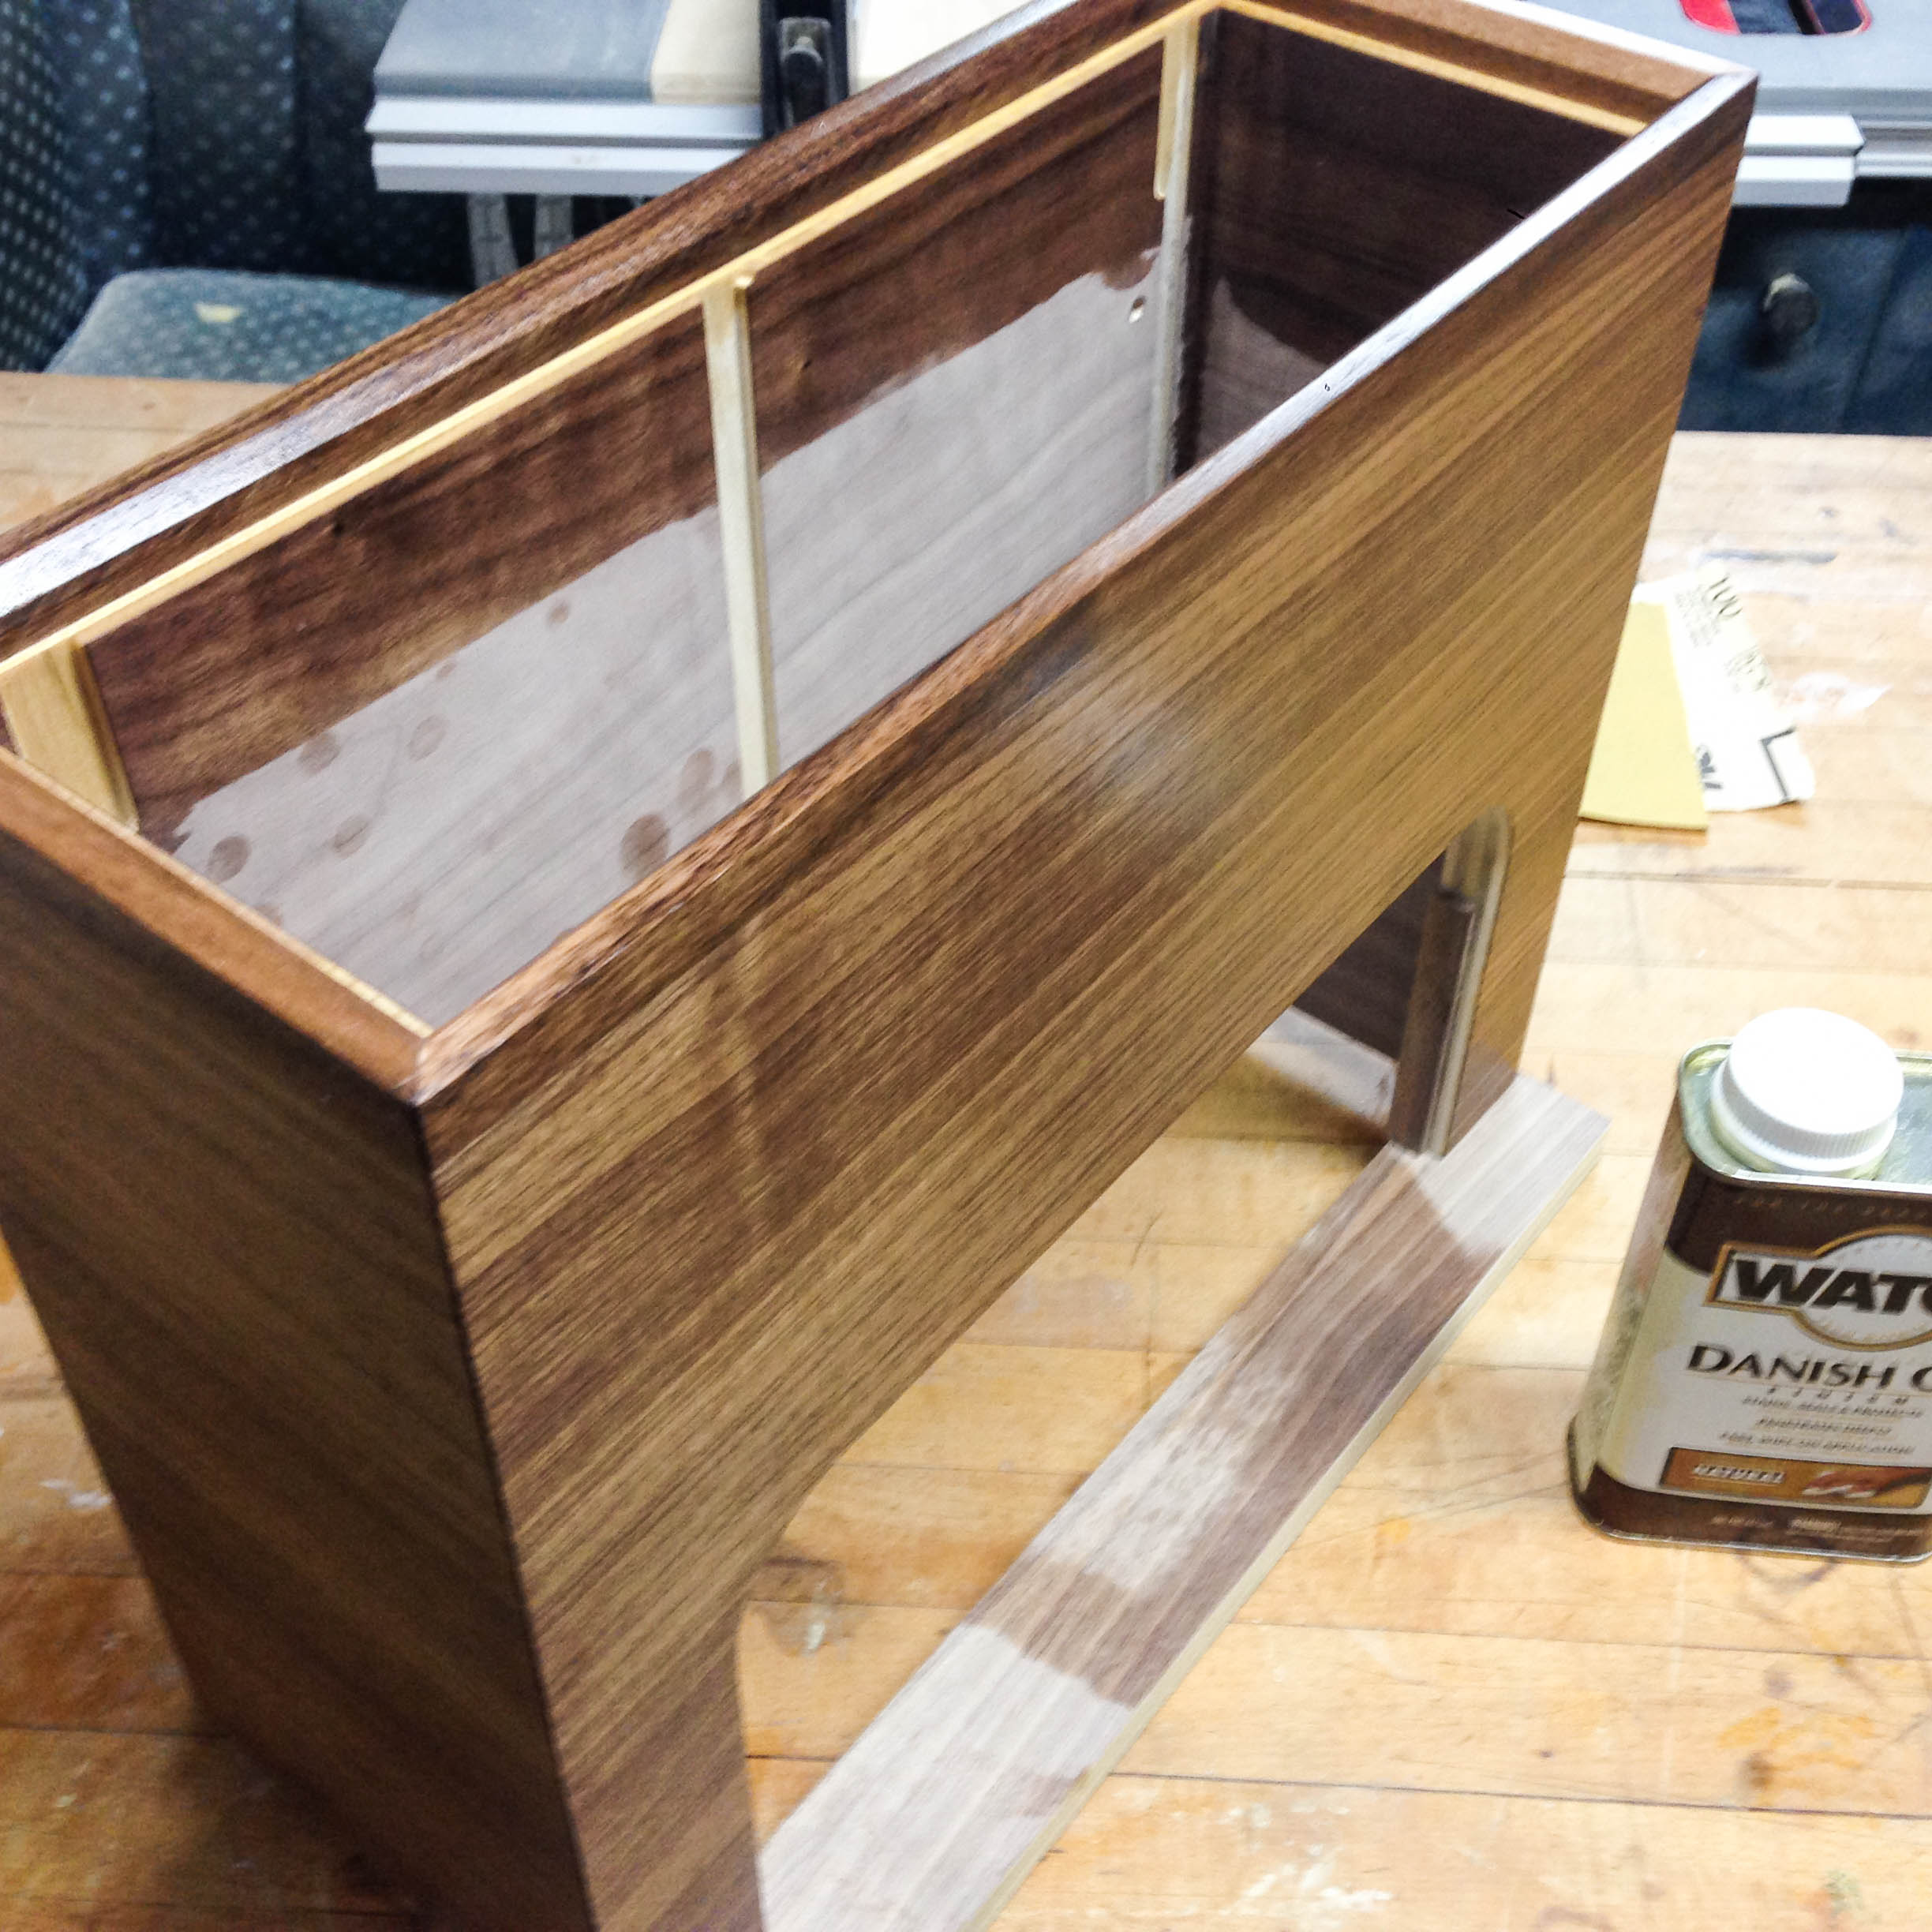
F. Sand, assemble, and finish the case
If we have a good fit, it's time to sand, glue and finish the case.
It's easier to sand the sides prior to assembly. Using an orbital sander makes it easy to get a smooth finish, progressing through 100, 120, 150, and 220 grit papers. You may need to hand sand the nose on the inner lip and chamfer. Be careful not to sand the veneer too heavily.
Use wood glue to assemble the case on the mitered sides, with biscuits in place. A strap clamp is an easy way to clamp the sides together. As you clamp the piece, check for square joins with a combination square or by measuring corner to corner.
For a finish, I applied a couple of coats of Danish Oil to deepen the color. After curing for a few days, a couple of coats of wipe-on poly will give it a nice satin finish.
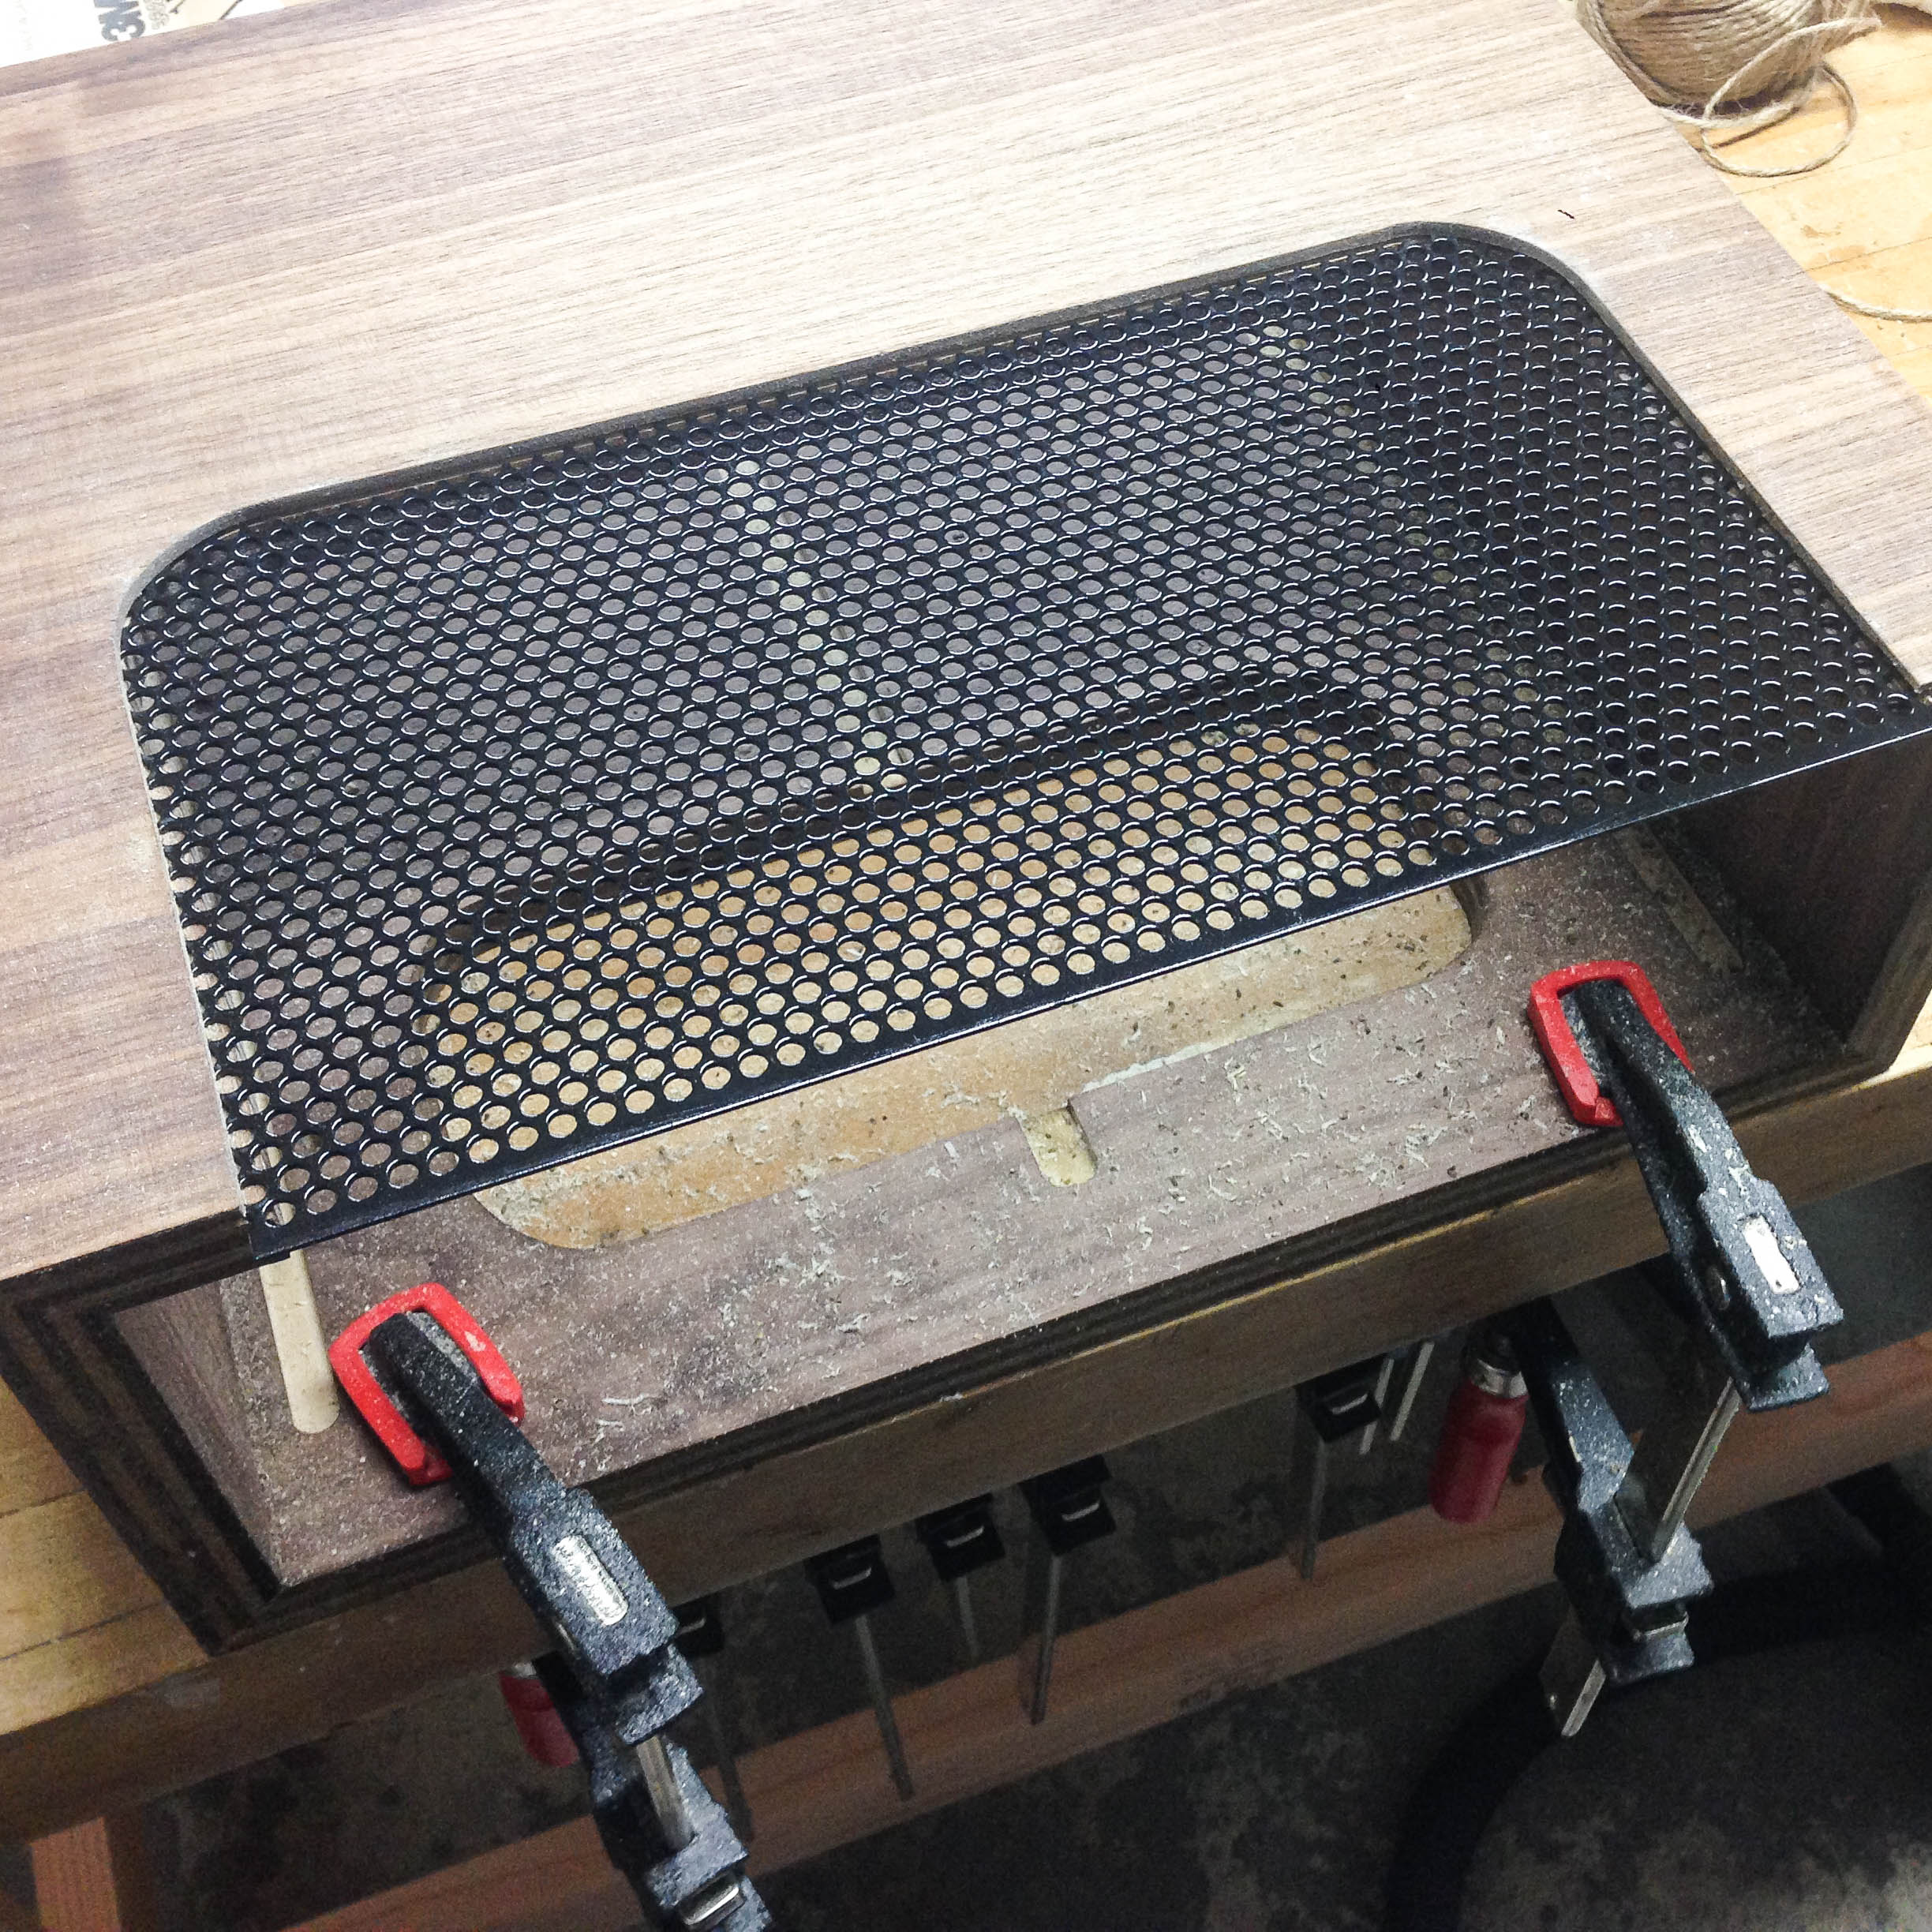
G. Adding the grill and feet
The grill should be added before the final wipe-on poly finish.
I used perforated steel, cut to size and spray-painted gloss black, as a grill. It's not a match for the original cases, but I almost prefer it as it is much more solid and won't bend, as you see in photos of vintage cases.
Because of the small overlap of grill I inadvertently left to fit the grill slot, I added a shim at the back of the grill cutaway to support it a little better.
I used a 1⁄16″ slot cutter bit to cut the grill slot.
For the feet, you will need M3 x 25mm screws in order to clear the case plywood.